
For every mountain biker, the quest for the “perfect” tire pressure is an ongoing journey. It’s a delicate balance between grip, rolling resistance, comfort, and protection against pinch flats. We meticulously consider rider weight, terrain, tire volume, and even riding style. But there’s a silent, often underestimated factor that can dramatically alter your tire’s performance on the trail: The impact of temperature on MTB tire pressure .
The air inside your mountain bike tires, like any gas, is highly sensitive to temperature fluctuations. Understanding this fundamental principle is key to optimizing your ride and preventing frustrating issues like unexpected grip loss or even tire damage. In this comprehensive guide, we’ll dive deep into the science behind temperature’s effect on MTB tire pressure, explore how to account for it, and provide actionable tips to keep your tires dialed in, no matter the weather.
The Physics at Play: Why Air Reacts to Temperature
At its core, the relationship between temperature and tire pressure is governed by the Ideal Gas Law. While we won’t delve into complex equations, the basic premise is simple: when air heats up, its molecules move faster and spread out, increasing pressure within a confined space. Conversely, when air cools down, its molecules slow down and contract, leading to a decrease in pressure.
Think of it like this: imagine a fixed number of excited particles (air molecules) bouncing around inside your tire.
- When it’s hot: These particles are super energetic, colliding with the tire walls more frequently and with greater force, thus increasing the internal pressure.
- When it’s cold: The particles become sluggish, colliding less often and with less impact, resulting in lower pressure.
This phenomenon is why you might notice your car’s “low tire pressure” warning light illuminate on a chilly morning, even if you inflated them correctly the day before. The same principle applies directly to your mountain bike tires, often with even more noticeable effects due to the lower overall pressures we typically run.
The “Rule of Thumb”: Quantifying the Change
While precise calculations can be complex, a widely accepted rule of thumb suggests that for every 10° Fahrenheit (approximately 5.5° Celsius) change in air temperature, your tire pressure will fluctuate by about 1 PSI.
Let’s put that into perspective for mountain biking:
- Cold Mornings to Warm Afternoons: You might inflate your tires in a comfortable 60°F (15.5°C) garage. If you then head out to ride on trails where the temperature climbs to 90°F (32°C), that’s a 30°F (16.5°C) increase. This could translate to an approximate 3 PSI increase in your tire pressure.
- Warm Storage to Cold Trails: Conversely, if you inflate your tires indoors at 70°F (21°C) and then hit a trail where the temperature is a frigid 30°F (-1°C), that’s a 40°F (22°C) drop. This could lead to a significant 4 PSI decrease in pressure.
For mountain bikers who often run pressures in the low to mid-20s PSI, a 3-4 PSI swing is a substantial percentage change and can profoundly impact ride quality and performance.
The Impact on Your Ride: Why It Matters
A few PSI here or there might not seem like a big deal, but on the trail, it can make all the difference.
1. Grip and Traction: Your Connection to the Trail
- Too High (Hot Weather): An increase in pressure stiffens the tire, reducing its ability to conform to trail irregularities like roots, rocks, and loose dirt. This diminishes the contact patch, leading to less grip, a harsher ride, and a higher chance of your tires skittering or washing out in corners. It can feel like riding on bowling balls.
- Too Low (Cold Weather): A decrease in pressure allows the tire to deform more, increasing the contact patch and providing better traction. However, if the pressure drops too low, the tire can become squirmy, leading to poor handling, increased rolling resistance (making pedaling feel sluggish), and a significantly higher risk of pinch flats (if running tubes) or rim strikes (for tubeless setups).
2. Rolling Resistance: Efficiency on the Trail
- Too High: While conventionally higher pressure reduces rolling resistance on perfectly smooth surfaces, mountain biking rarely offers such luxury. On rough trails, an overly inflated tire will bounce off obstacles rather than absorbing them, causing a loss of momentum and requiring more energy from the rider.
- Too Low: Excessively low pressure creates too much tire deformation, leading to increased rolling resistance as the tire “drags” over the terrain. It can feel like you’re constantly fighting against your bike.
3. Comfort and Compliance: Soaking Up the Bumps
- Too High: A stiff tire transmits every bump and vibration directly to your hands and body, leading to rider fatigue and a less enjoyable ride.
- Too Low: While lower pressures generally improve comfort, going too low results in a “mushy” feel, lack of support, and potential for rim damage on impacts.
4. Puncture Protection: Guarding Against Flats
- Too Low (Especially in Cold): This is where cold weather can be particularly detrimental. As pressure drops, your tires become more susceptible to pinch flats (where the tube gets pinched between the tire and rim) or burping (where a tubeless tire momentarily loses its seal), especially when hitting obstacles.
Optimizing Your Pressure for Temperature Changes: A Proactive Approach
Since temperature is a variable you can’t control, the key is to be aware of its effects and adjust your strategy accordingly.
1. Measure Your Pressure Where You Ride (or Will Ride)
The most accurate way to account for temperature is to inflate your tires at the temperature you’ll be riding in.
- If you store your bike in a warm garage and ride in cold conditions: Take your bike outside for 15-20 minutes before inflating. This allows the air inside the tires to equalize with the ambient temperature, giving you a more accurate “cold” pressure reading for those conditions.
- If you’re riding in significantly hotter conditions than where you stored your bike: Inflate your tires slightly lower than your ideal pressure, anticipating that the heat of the trail and increased air temperature will bring them up to your desired riding pressure.
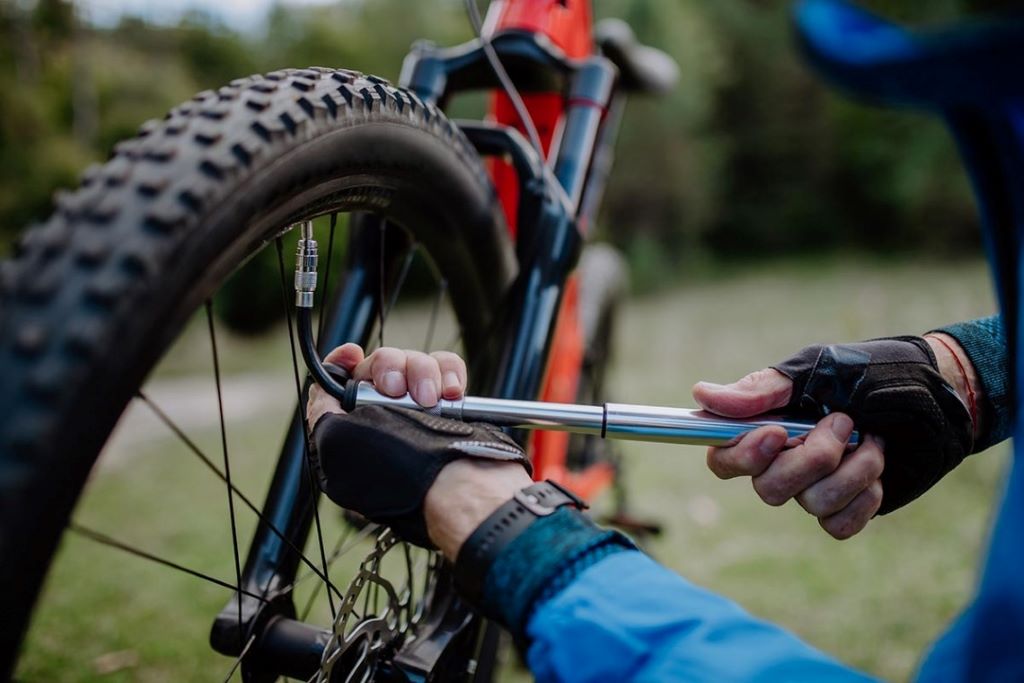
2. Invest in an Accurate Gauge
Don’t rely on the often inaccurate gauges built into floor pumps. A dedicated, high-quality digital pressure gauge is a worthy investment. It provides precise readings, allowing you to make minute adjustments and truly dial in your pressure.
3. Understand Your Baseline and Adjust Incrementally
You likely have a general PSI range that works for you. Use this as your starting point, and then consider the temperature.
- Cold Weather Riding: You might need to add 1-3 PSI more than your usual “warm weather” baseline to compensate for the pressure drop once you hit the colder air. Remember, a slightly lower pressure overall is often beneficial for grip in slippery, cold conditions, but you need to avoid dangerously low pressures.
- Hot Weather Riding: You might start 1-2 PSI lower than your baseline, knowing that the tire will gain pressure as it heats up during the ride. This prevents overinflation and the associated loss of grip and harshness.
4. Consider the Terrain and Riding Style
Temperature changes are one variable among many. Always factor in:
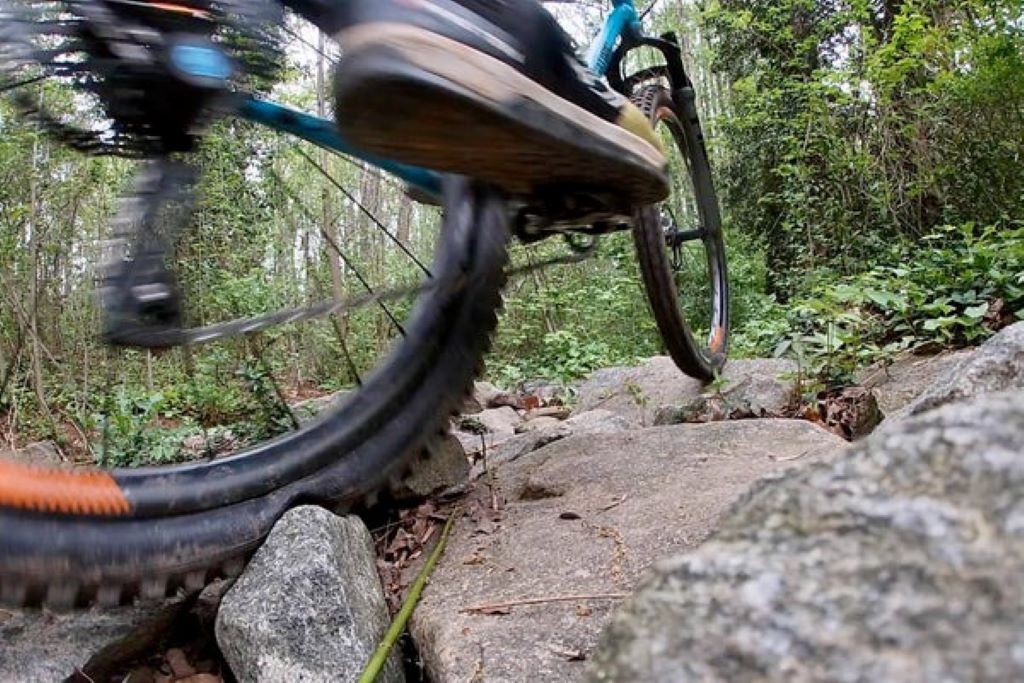
- Terrain: Rocky and technical trails often benefit from slightly lower pressures for better absorption and grip, while smooth, flowy trails might allow for slightly higher pressures for reduced rolling resistance.
- Rider Weight: Heavier riders generally need higher pressures to prevent bottoming out.
- Tire Volume and Casing: Wider tires with higher air volume can typically be run at lower pressures than narrower tires. Tires with thicker casings are also more forgiving of lower pressures.
- Tubeless vs. Tubes: Tubeless setups allow for significantly lower pressures without the risk of pinch flats, making them more resilient to temperature-induced pressure drops. If you run tubes, you’ll need to be more vigilant about maintaining adequate pressure to prevent flats.
5. Check Pressure Before Every Ride
This cannot be stressed enough. Tire pressure naturally leaks over time, and temperature fluctuations accelerate this. Make it a habit to check your tire pressure before every single ride. Even a few PSI difference can change the entire feel of your bike.
6. Learn to “Feel” Your Tires
While gauges are essential, developing a feel for how your tires are performing is invaluable. Pay attention to:
- Squishiness: Does the tire feel too soft when you push down on it?
- Bounciness/Harshness: Is the ride too stiff or are you bouncing off obstacles?
- Grip: Are you feeling confident in corners and over technical sections, or are you losing traction?
- Rolling: Does the bike feel sluggish or is it rolling efficiently?
These sensations, combined with your gauge readings, will help you fine-tune your pressure for optimal performance in any given conditions.
Seasonal Adjustments: Thinking Ahead
The most significant temperature-related pressure changes occur with seasonal shifts.
- Winter Riding: As temperatures consistently drop, you’ll need to increase your “cold” starting pressure. Many riders find that a slightly lower overall pressure in winter is beneficial for grip on wet, muddy, or even snowy trails, but you still need to account for the pressure drop due to the cold air. Be mindful of frozen ground, which can feel like riding over sharp rocks and increase the risk of punctures at very low pressures.
- Summer Riding: During hot spells, be aware that your tires will gain pressure. If you’re inflating in a cool garage, you might start a touch lower to avoid ending up with overly stiff tires on a scorching trail. Long descents can also generate significant heat, causing pressure to rise further.
Read More: 10 benefits of tubeless tires mountain bike
The Takeaway: Knowledge is Power (and Grip!)
Understanding how temperature affects your mountain bike tire pressure isn’t just about avoiding flats; it’s about unlocking your bike’s full potential. By being aware of the physics, regularly checking your pressures with an accurate gauge, and making slight adjustments based on the ambient temperature, you’ll enhance your grip, improve comfort, optimize rolling resistance, and ultimately, have a more confident and enjoyable riding experience.
So, the next time you head out for a ride, don’t just pump and go. Take a moment to consider the temperature, grab your gauge, and dial in your ride. Your tires (and your body) will thank you for it.
Read More:
The 5 Best Tires For Rollers: Review of the Top Picks
How to Install Road Tires on a Mountain Bike – The Easy Way

Welcome to outdoorxsports.com! I’m Russell, your guide to the awesome world of mountain biking. This blog is all about building a community of riders who love to share their passion for the sport. Expect inspiring stories, local trail recommendations, fun challenges, and tips for making the most of your time on two wheels.