
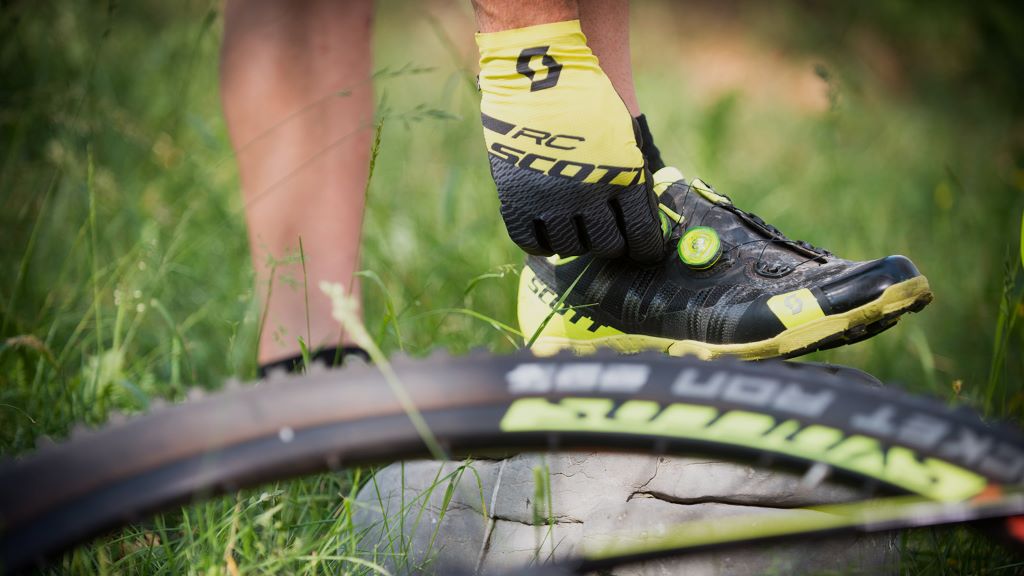
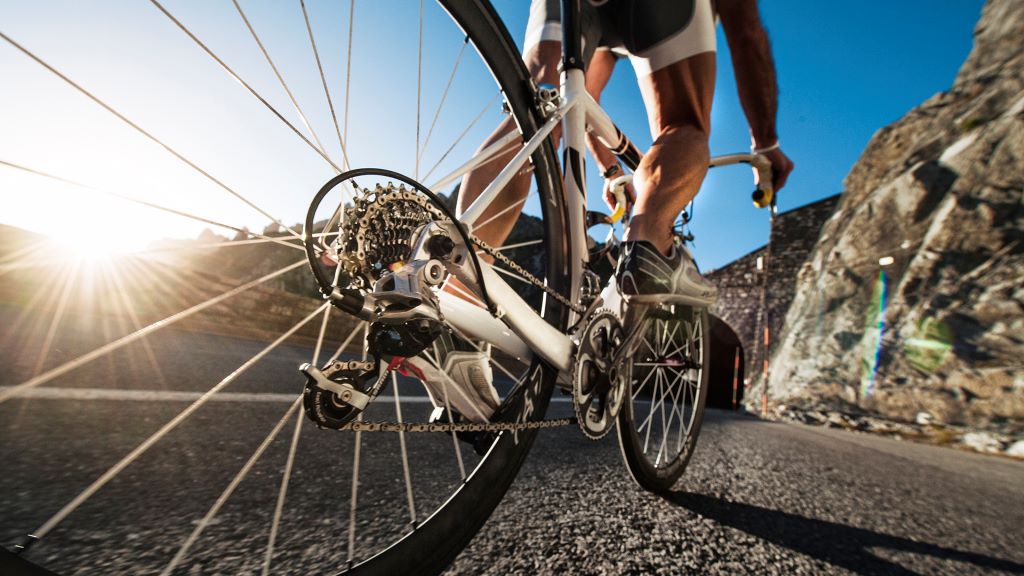
Mountain biking is an exhilarating sport that challenges both your physical and mental limits. As you push your boundaries and explore new trails, having the right gear becomes crucial. Among the essential pieces of equipment, mountain bike shoes play a significant role in enhancing your performance and control of the bike. While flat pedals offer a degree of flexibility, clip-in pedals, when paired with compatible shoes, provide a secure connection to the bike, enabling efficient power transfer and improved control.
If you’re new to the world of clip-in pedals and shoes, the process of clipping in and out might seem daunting at first. However, with a bit of practice and understanding, you’ll soon be confidently navigating trails and tackling technical terrain. In this comprehensive guide, we will walk you through the step-by-step process of clipping in and out of mountain bike shoes, along with essential tips and considerations for a smooth and enjoyable experience.
Mountain Bike Shoes: Understanding Clip-In Pedals and Shoes
Before diving into the clipping process, let’s take a moment to understand the basic components of clip-in pedals and shoes. The system consists of two main parts:
- Cleats: These small metal or plastic pieces attach to the soles of your shoes. They feature a specific design that interlocks with the pedal mechanism.
- Pedals: Clip-in pedals have a spring-loaded mechanism that engages with the cleats on your shoes, creating a secure connection.
Various brands offer different cleat and pedal systems, each with its unique design and features. Some popular options include Shimano SPD, Crankbrothers, and Time ATAC. When choosing your system, consider factors such as ease of engagement and release, float (the degree of rotational movement allowed while clipped in), and compatibility with your riding style and preferences.
Mountain Bike Shoes: Preparing Your Shoes and Cleats
Once you’ve selected your preferred system, it’s time to prepare your shoes and cleats for installation.
- Cleat Installation: Most mountain bike shoes come with pre-drilled holes in the soles for cleat installation. Refer to the manufacturer’s instructions for your specific shoe model and cleat system. Use the provided screws and washers to securely attach the cleats to the soles. Pay attention to cleat positioning, as it affects your foot’s alignment and comfort on the pedals.
- Cleat Adjustment: After installing the cleats, you might need to make minor adjustments to their position. Start with a neutral position and gradually fine-tune it based on your comfort and riding preferences. Consider factors such as fore-aft position, rotational angle, and stance width. Experiment with different settings during practice sessions to find the optimal configuration for you.
Clipping In: Step-by-Step Guide
Now that your shoes and cleats are ready, let’s go through the process of clipping in.
- Positioning: Approach the pedal with your dominant foot. Position the cleat directly above the pedal’s engagement mechanism.
- Engagement: Apply downward pressure with your heel while pushing forward slightly. You should hear a distinct click sound as the cleat engages with the pedal.
- Confirmation: Once clipped in, gently pull upward on your foot to ensure a secure connection. You should feel resistance, indicating that you’re properly clipped in.
Clipping Out: Step-by-Step Guide
Clipping out is equally important, especially when coming to a stop or encountering unexpected situations on the trail.
- Heel Outward: Rotate your heel outward, away from the bike. The cleat will disengage from the pedal, releasing your foot.
- Practice: It’s crucial to practice clipping out repeatedly until it becomes a natural reflex. Start in a safe, controlled environment, such as a grassy field or empty parking lot. Practice clipping in and out with both feet until you feel comfortable and confident.
Tips for a Smooth Experience
- Start Slow: Begin practicing on flat terrain before venturing onto trails.
- Adjust Cleat Tension: Most pedals allow you to adjust the release tension. Start with a lower tension setting, making it easier to clip out, and gradually increase it as you gain confidence.
- Look Ahead: Avoid looking down at your feet when clipping in or out. Keep your eyes focused on the trail ahead to maintain balance and control.
- Unclip in Advance: Anticipate stops and obstacles on the trail. Unclip your foot in advance to avoid falling over when coming to a stop.
- Practice Makes Perfect: The more you practice clipping in and out, the more natural it will become. Don’t get discouraged if you experience a few falls initially. With persistence and practice, you’ll soon master the technique.
Related: Best Winter Mountain Bike Shoes: Unleash Your Ride in Any Weather
Additional Considerations for Best Mountain Bike Shoes
- Shoe and Pedal Compatibility: Ensure that your shoes and pedals are compatible with each other. Using mismatched systems can lead to difficulties in clipping in and out or even damage to your equipment.
- Cleat Wear: Cleats experience wear and tear over time. Inspect them regularly for signs of damage or excessive wear. Replace them as needed to maintain optimal performance and safety.
- Walking in Clip-In Shoes: Clip-in shoes are designed primarily for cycling, not walking. The cleats can make walking awkward and slippery. Consider using shoe covers or walking pads to protect the cleats and improve traction when off the bike.
- Maintenance: Keep your pedals and cleats clean and lubricated to ensure smooth engagement and release. Regularly inspect your shoes for signs of wear and tear, and replace them when necessary.
Related: How to choose the best mountain bike shoes?
Conclusion
Clipping in and out of mountain bike shoes might seem intimidating at first, but with practice and understanding, it becomes second nature. Mastering this skill opens up a world of possibilities on the trails, allowing you to experience improved power transfer, control, and confidence. Remember to start slow, practice in a safe environment, and gradually progress as you gain confidence. With dedication and persistence, you’ll soon be confidently navigating trails and tackling technical terrain with ease. So gear up, clip in, and embark on your next mountain biking adventure!

Welcome to outdoorxsports.com! I’m Russell, your guide to the awesome world of mountain biking. This blog is all about building a community of riders who love to share their passion for the sport. Expect inspiring stories, local trail recommendations, fun challenges, and tips for making the most of your time on two wheels.