
A bicycle isn’t just a mode of transportation; it’s an extension of your personality, a companion on adventures, and a reflection of your style. Over time, however, the original paint on your bike frame can succumb to scratches, chips, and fading, leaving it looking worn and lackluster. A fresh coat of spray paint can breathe new life into your ride, offering a cost-effective way to customize its appearance and protect it from the elements. But with a vast array of spray paint options available, choosing the right one for your bike frame can be daunting. This comprehensive guide will navigate you through the intricacies of selecting the perfect spray paint, ensuring a durable, vibrant, and long-lasting finish.
Understanding the Importance of the Right Spray Paint
Before diving into the specifics of different spray paint types, it’s crucial to understand why choosing the right product is paramount. A bike frame is subject to various environmental stressors, including UV radiation, moisture, road debris, and physical impacts. Whether you’re focusing on vintage road bike restoration and maintenance or upgrading a modern model, using the wrong paint can lead to premature chipping, peeling, rust formation, and a generally poor aesthetic. The ideal spray paint should possess the following characteristics:
- Durability: It must withstand the rigors of cycling, resisting scratches, chips, and abrasions.
- Weather Resistance: It should protect the frame from rust and corrosion caused by rain, humidity, and sunlight.
- Adhesion: It needs to adhere strongly to the frame’s surface, preventing peeling and flaking.
- Flexibility: It should be able to flex with the frame without cracking.
- Finish Quality: It should provide a smooth, even, and aesthetically pleasing finish.
Exploring the Different Types of Spray Paint
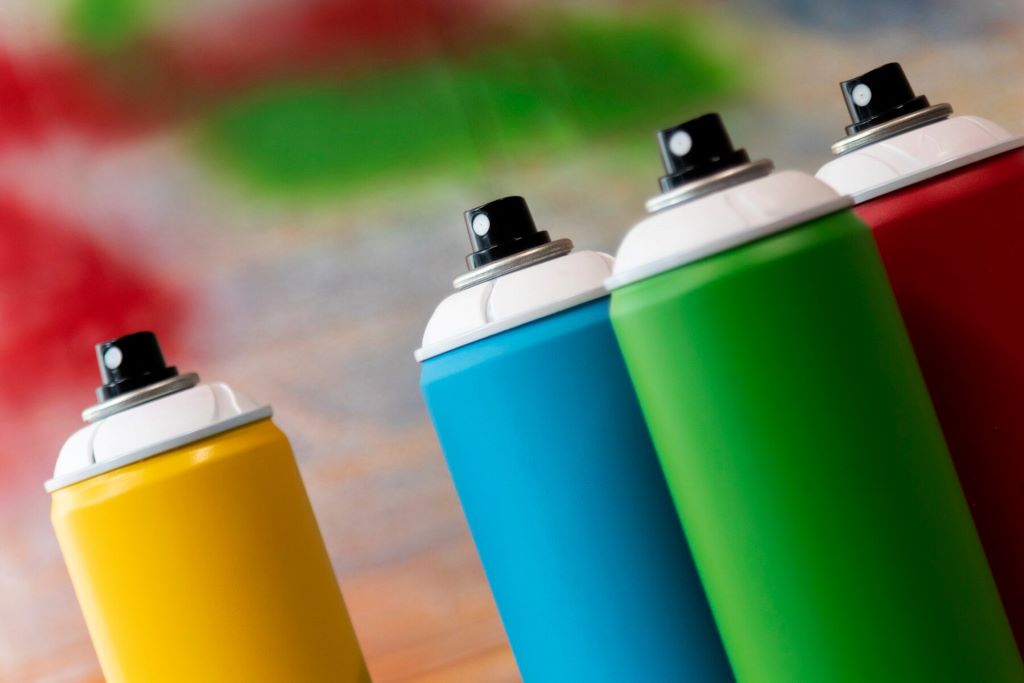
The market offers a diverse range of spray paints, each with its unique properties and applications. Here’s a breakdown of the most common types suitable for bike frames:
1. Acrylic Enamel Spray Paint:
Acrylic enamel is a popular choice for bike frames due to its versatility, durability, and ease of application. It forms a hard, glossy finish that is resistant to scratches and chips. It’s also relatively quick-drying, making it ideal for DIY projects. Acrylic enamel offers good weather resistance, protecting the frame from UV rays and moisture. However, it may not be as resistant to harsh chemicals as other options.
- Pros: Easy to apply, quick-drying, durable, good gloss finish, wide color selection.
- Cons: Less chemical resistance than other options.
- Application Tips: Apply thin, even coats, allowing sufficient drying time between coats. Ensure proper surface preparation for optimal adhesion.
2. Urethane Spray Paint:
Urethane spray paint is renowned for its exceptional durability and chemical resistance. It forms a tough, hard finish that can withstand the harshest conditions. It’s highly resistant to scratches, chips, and fading, making it an excellent choice for bikes that are frequently exposed to the elements. Urethane spray paint also offers superior gloss retention, maintaining its shine for years. This paint is often used in automotive applications, which is a testament to its durability.
- Pros: Extremely durable, excellent chemical resistance, high gloss finish, long-lasting.
- Cons: More challenging to apply than acrylic enamel, requires proper ventilation, can be more expensive.
- Application Tips: Requires careful surface preparation, use multiple thin coats, and allow ample drying time. Using a respirator is highly recommended due to the fumes.
3. Epoxy Spray Paint:
Epoxy spray paint is known for its exceptional adhesion and corrosion resistance. It forms a strong, durable bond with the frame’s surface, providing excellent protection against rust and chemicals. It’s often used for industrial applications where durability is paramount. Epoxy spray paint is highly resistant to impacts and abrasions, making it a robust choice for bike frames.
- Pros: Excellent adhesion, superior corrosion resistance, highly durable, impact resistant.
- Cons: Can be challenging to apply, requires careful mixing (if two-part epoxy), longer curing time.
- Application Tips: Thorough surface preparation is crucial, follow the manufacturer’s instructions for mixing and application, allow ample curing time.
4. Powder Coating (Professional Application):
While not technically spray paint, powder coating is a popular and highly durable option for bike frames. It involves applying a dry powder electrostatically and then curing it with heat. This process creates a thick, resilient finish that is highly resistant to scratches, chips, and corrosion. Powder coating offers exceptional durability and a wide range of colors and finishes.
- Pros: Extremely durable, excellent corrosion resistance, wide range of colors and finishes, long-lasting.
- Cons: Requires professional application, more expensive than spray painting, difficult to repair.
Preparing Your Bike Frame for Painting
Proper surface preparation is essential for a successful paint job. Here’s a step-by-step guide:
- Disassemble the Bike: Remove all components, including wheels, handlebars, seat, and drivetrain.
- Clean the Frame: Thoroughly clean the frame with a degreaser to remove dirt, grease, and grime.
- Remove Old Paint: Use sandpaper, a wire brush, or a paint stripper to remove the existing paint.
- Sand the Frame: Sand the frame with progressively finer grit sandpaper to create a smooth surface.
- Repair Imperfections: Fill any dents, scratches, or imperfections with body filler.
- Clean Again: Clean the frame again to remove dust and debris from sanding.
- Apply Primer: Apply a high-quality primer to the frame to improve adhesion and prevent rust.
The Painting Process
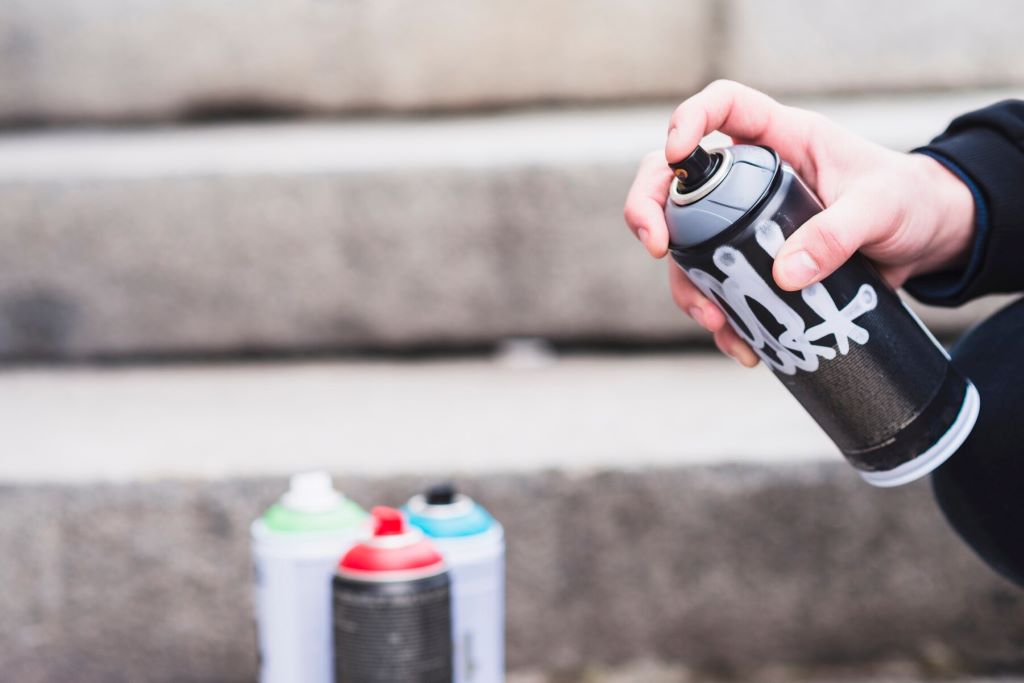
- Choose a Well-Ventilated Area: Spray paint in a well-ventilated area to avoid inhaling fumes.
- Mask Off Areas: Mask off any areas you don’t want to paint, such as threads and bearing surfaces.
- Apply Thin Coats: Apply thin, even coats of spray paint, allowing sufficient drying time between coats.
- Allow to Dry: Allow the paint to dry completely according to the manufacturer’s instructions.
- Apply Clear Coat (Optional): Apply a clear coat to protect the paint and enhance its gloss.
- Reassemble the Bike: Carefully reassemble the bike once the paint is fully cured.
People Also Ask (FAQs)
Q: Can I spray paint my bike frame without taking it apart?
A: While it’s possible, it’s not recommended. Disassembling the bike allows for thorough preparation and a more even paint job.
Q: How many coats of spray paint should I apply?
A: Typically, two to three thin coats are sufficient. Follow the manufacturer’s instructions for optimal results.
Q: How long does spray paint take to dry on a bike frame?
A: Drying time varies depending on the type of paint and environmental conditions. It can range from a few hours to several days.
Q: Do I need to use a primer before spray painting my bike frame?
A: Yes, primer is essential for proper adhesion and rust prevention.
Q: What is the best clear coat for a bike frame?
A: A 2K urethane clear coat provides excellent durability and gloss.
Q: Can I use automotive spray paint on a bike frame?
A: Yes, automotive spray paints, especially urethane or acrylic enamel, are suitable for bike frames.
Q: How to prevent rust on a bike frame after painting?
A: Use a rust-preventative primer, apply a durable topcoat, and regularly clean and maintain your bike.
Conclusion
Choosing the right spray paint for your bike frame is crucial for achieving a durable, aesthetically pleasing, and long-lasting finish. By understanding the different types of spray paint, preparing your frame properly, and following the correct application techniques, you can transform your bike into a personalized masterpiece. Whether you opt for the versatility of acrylic enamel, the robustness of urethane, or the industrial strength of epoxy, your revitalized ride will turn heads and withstand the test of time. Remember, patience and attention to detail are key to a successful DIY paint job. Invest the time and effort, and you’ll be rewarded with a bike that looks and performs its best.

Steve J. Robin is the Senior Mountain Bike Review Editor at Outdoorxsports. Steve has lived in Heron Way, Milwaukie for 15 years. Steve earned his Bachelor’s degree at the University of Wisconsin Milwaukee, which has extensive biking training facilities, he had taken up biking seriously as a teenager and later became obsessed with mountain biking. He is an obsessive mountain bike racer and rubbed shoulders with the bike and that he rides with, riding is so much more than a hobby for him with a mild addiction to Endomondo. On September 21, 2015, he released a five-and-a-half-minute mountain biking’s video on YouTube that was to change his biking life. The video got a few thousands of views overnight as of today– the world went crazy for Steve. Since the video went viral, things changed fast; Steve found himself featured in MTB-MAG, joined a production as a stunt man.