
Mountain biking is an exhilarating sport that challenges both your physical and technical skills. Ensuring your bike is set up correctly is vital for an enjoyable and efficient ride. One often overlooked aspect of bike setup is chain length. An incorrect chain length can lead to poor shifting performance, increased wear and tear on your drivetrain, and even chain derailment. In this article, we will walk you through the process of setting chain length on your mountain bike to ensure optimal performance on your rides.
Setting Chain Length on your Mountain Bike: Why Chain Length Matters
The chain on your mountain bike connects the chainring at the front to the cassette at the rear, allowing you to transfer power from the pedals to the wheels. The chain length determines how much slack or tension there is in the chain. Too much slack can cause the chain to derail or slap against the chainstay. Too much tension can put excessive strain on the drivetrain components and hinder shifting performance.
Setting Chain Length on your Mountain Bike: Tools You’ll Need
Before you begin, gather the following tools:
- Chain breaker tool
- Chainwear indicator tool
- Ruler or tape measure
- Wrench or Allen key (to remove the rear wheel)
- New chain (if necessary)
- Master link (if your chain doesn’t have one)
- Degreaser and rag (optional)
Setting Chain Length on your Mountain Bike: Step-by-Step Guide

1. Assess Your Current Chain
The first step is to assess the condition of your current chain. Using a chain wear indicator tool, check if your chain has stretched beyond its recommended limit. If it has, it’s time to replace it. A worn chain can cause premature wear on your cassette and chainrings.
2. Remove the Old Chain (if necessary)
If you are replacing your chain, use the chain breaker tool to remove the old chain. If your chain has a master link, you can simply remove the master link to disconnect the chain.
3. Determine the Correct Chain Length
There are two main methods to determine the correct chain length:
- Big-Big + 2 Links Method: This is the most common and straightforward method. Shift your chain onto the largest chainring at the front and the largest cog at the rear. Pull the rear derailleur back to take up any slack in the chain. Add two full links to the chain length.
- Manufacturer’s Recommendation: Some bike manufacturers provide specific chain length recommendations for their bikes. Check your bike’s manual or the manufacturer’s website for this information.
4. Size the New Chain
If you are installing a new chain, size it according to the determined length. Use the chain breaker tool to remove any excess links.
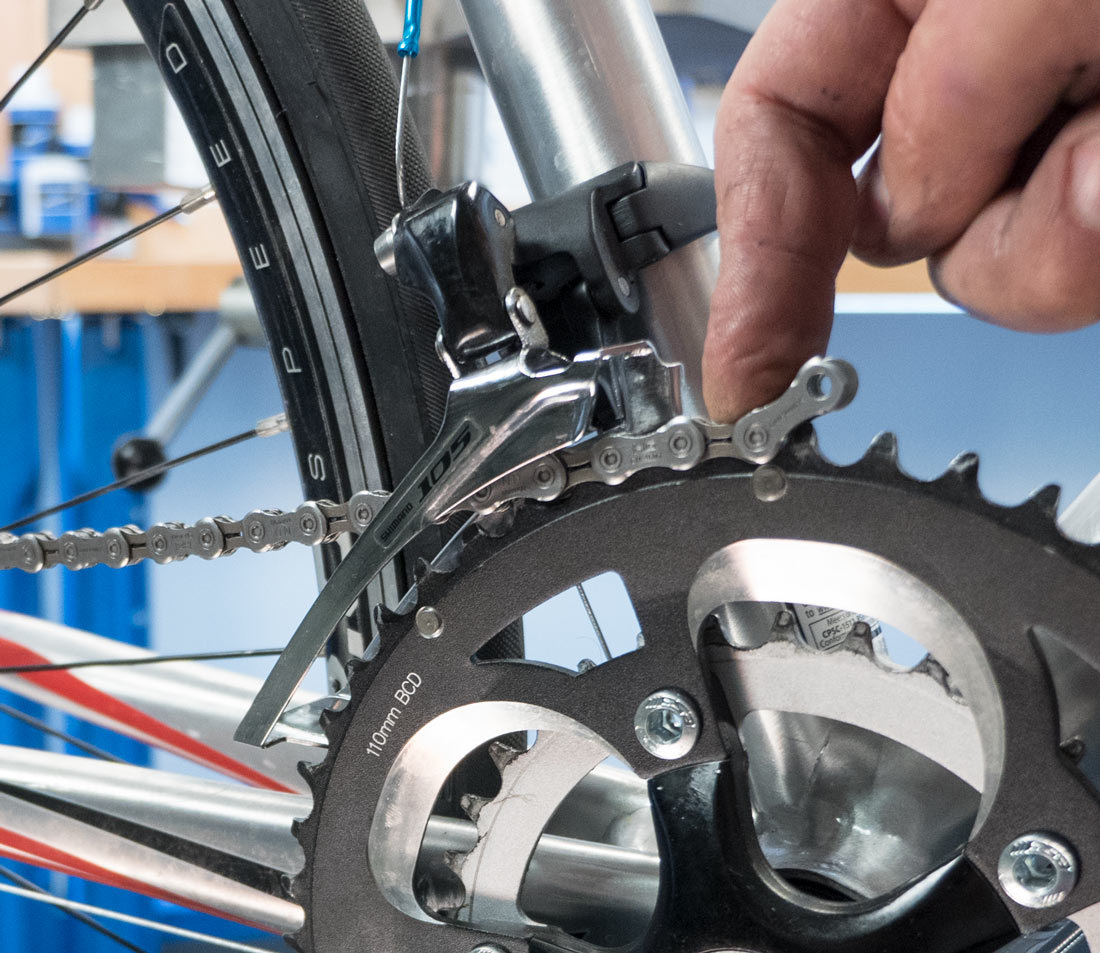
5. Install the New Chain
Thread the new chain through the rear derailleur and around the cassette. Then, thread it through the front derailleur and around the chainring. Ensure the chain is running smoothly through all the pulleys and cogs.
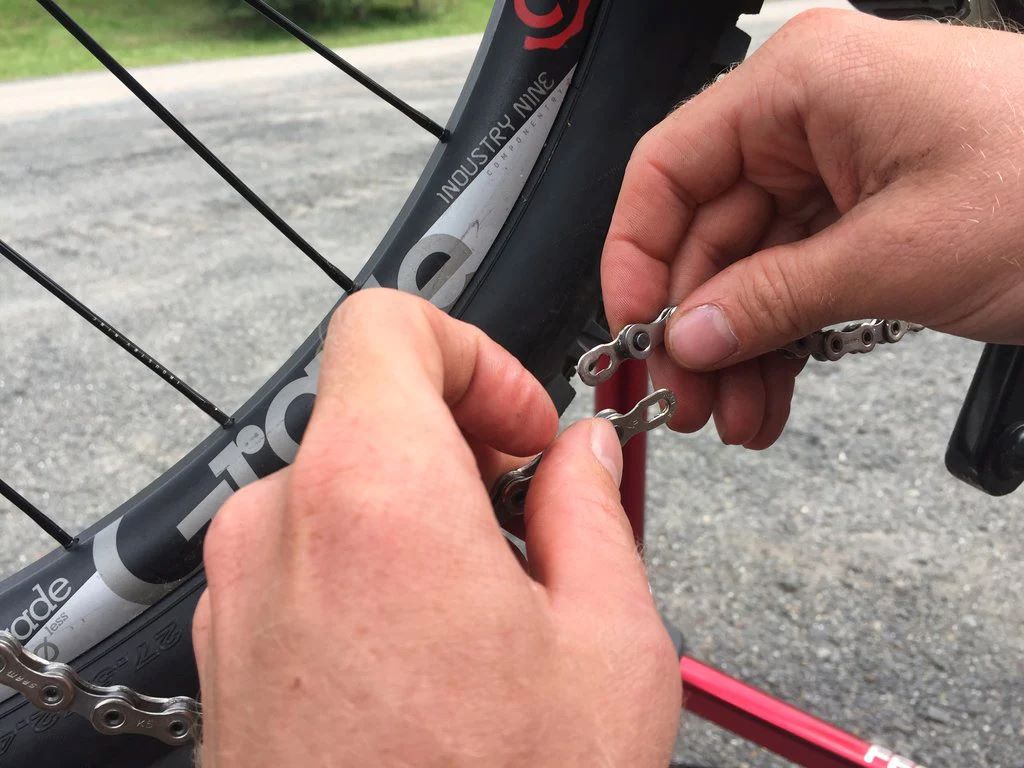
6. Connect the Chain
If your chain has a master link, connect the two ends of the chain using the master link. If your chain doesn’t have a master link, use the chain breaker tool to install a connecting pin.
7. Check Chain Tension
Shift through all the gears to ensure the chain is running smoothly and there is no excessive slack or tension. The chain should be able to move freely without binding or skipping.
8. Adjust Rear Derailleur (if necessary)
If the chain is skipping or not shifting properly, you may need to adjust the rear derailleur. Refer to your bike’s manual or online resources for instructions on how to adjust the rear derailleur.
Want to Change Your Bike Chain Try This: How to Change Your Mountain Bike Chain: A Comprehensive Guide
Setting Chain Length on your Mountain Bike: Additional Tips
- If you are unsure about any of the steps, consult a professional bike mechanic.
- Clean and lubricate your chain regularly to ensure smooth shifting and prolong its lifespan.
- Check your chain length periodically, especially if you notice any shifting issues or chain derailment.
- If you frequently ride in muddy or wet conditions, consider using a chain guide to prevent chain derailment.
For Bike Chain Cleaning You Can Try: How to Clean a Mountain Bike Chain: A Comprehensive Guide
Conclusion
Setting the correct chain length on your mountain bike is a crucial aspect of bike maintenance that can significantly impact your riding experience. By following the steps outlined in this guide, you can ensure your chain is the correct length, leading to improved shifting performance, reduced wear and tear on your drivetrain, and a more enjoyable ride. Remember, if you are ever unsure about any of the steps, it is always best to consult a professional bike mechanic.
Happy trails!

Welcome to outdoorxsports.com! I’m Russell, your guide to the awesome world of mountain biking. This blog is all about building a community of riders who love to share their passion for the sport. Expect inspiring stories, local trail recommendations, fun challenges, and tips for making the most of your time on two wheels.