
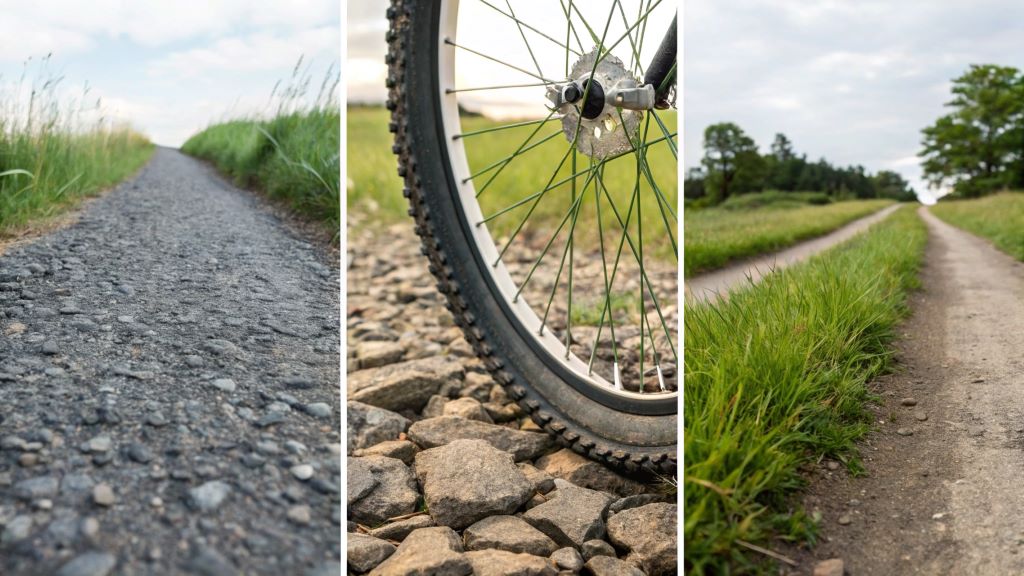
Every cyclist knows the feeling: the smooth hum of tires on asphalt, the exhilarating rattle of gravel beneath the wheels, the gentle give of a forest trail. But what many don’t realize is that optimizing your ride for each of these experiences isn’t just about your bike or your fitness—it’s profoundly influenced by something as seemingly simple as your tire pressure. Understanding bicycle tire pressure vs. terrain type can make all the difference in comfort, efficiency, and control, whether you’re cruising on pavement, tackling rocky paths, or navigating muddy trails.
Tire pressure, often overlooked and underestimated, is a critical variable that directly impacts comfort, control, speed, and puncture resistance. It’s not a “set it and forget it” setting; instead, it’s a dynamic adjustment that can transform your cycling experience from frustrating to fantastic, depending on the terrain you’re tackling.
This comprehensive guide will delve deep into the science and art of bicycle tire pressure, providing you with the knowledge and practical advice to dial in your pressures for any terrain, ensuring a more enjoyable, efficient, and safer ride every time.
The Fundamentals of Tire Pressure: Why It Matters
Before we dive into specific terrain types, let’s understand the core principles of why tire pressure is so crucial:
- Rolling Resistance: This is the force that opposes motion when a tire rolls over a surface. Counterintuitively, lower pressure doesn’t always mean higher rolling resistance. On rough terrain, a lower pressure tire can deform and absorb obstacles, reducing the energy lost to vertical displacement and thus decreasing rolling resistance. On smooth surfaces, higher pressure generally leads to lower rolling resistance because less tire material is deforming.
- Traction and Grip: This refers to the ability of the tire to adhere to the riding surface. Lower tire pressure increases the contact patch (the area of the tire touching the ground). A larger contact patch, especially on loose or uneven surfaces, provides more grip, enhancing stability, cornering, and braking.
- Comfort: The tire acts as a primary suspension component. A properly inflated tire, especially one with slightly lower pressure, can absorb vibrations and impacts from the road or trail, leading to a much more comfortable ride and reducing rider fatigue.
- Puncture Protection: This is a delicate balance. Too low pressure on a hard surface can lead to pinch flats (where the tube gets pinched between the rim and an obstacle). Too high pressure on a rough surface can lead to punctures from sharp objects as the tire can’t deform to absorb them. The optimal pressure helps the tire flex around obstacles without bottoming out.
- Handling and Control: Tire pressure significantly affects how your bike feels and responds. The right pressure provides a predictable and stable feel, allowing for confident steering and maneuvering. Too high pressure can make the bike feel skittish and unpredictable, while too low pressure can make it feel sluggish.
Factors Influencing Your Ideal Tire Pressure
Beyond the terrain, several other factors play a vital role in determining your optimal tire pressure:
- Rider Weight: Heavier riders generally require higher tire pressures to prevent pinch flats and maintain proper tire shape.
- Tire Volume/Width: Wider tires (higher volume) can be run at lower pressures than narrower tires because they have a larger air volume to absorb impacts and distribute weight.
- Tire Casing and Construction: Different tires have different casings (e.g., supple vs. stiff). More supple casings (often found on higher-end tires) allow for lower pressures due to their ability to conform better to the terrain.
- Tubeless vs. Tubed Setup: Tubeless setups eliminate the inner tube, drastically reducing the risk of pinch flats. This allows riders to run significantly lower pressures than with a traditional tubed setup, offering a huge advantage in traction and comfort.
- Rim Width (Internal): The internal width of your rim affects the tire’s profile. Wider rims support wider tires better, allowing them to maintain a more optimal shape at lower pressures.
- Weather Conditions: Wet conditions often call for slightly lower pressures to increase the contact patch and enhance grip on slippery surfaces.
Terrain-Specific Tire Pressure Guidelines
Now, let’s get to the heart of the matter: how to adjust your tire pressure for different terrains.
1. Smooth Asphalt/Road Cycling
This is where speed and efficiency are paramount.
- Characteristics: Paved roads, well-maintained surfaces, minimal obstacles.
- Goal: Minimize rolling resistance, maximize speed, maintain cornering stability.
- Pressure Recommendation: Generally higher pressures. This reduces the tire’s deformation on smooth surfaces, leading to less energy loss and a faster ride. However, “max PSI” isn’t always best. Too high pressure can lead to a harsh ride, reduced grip on corners, and a skittish feel.
- Typical Range:
- Road Bikes (23-28mm tires): 80-120 PSI (pounds per square inch). Lighter riders or those prioritizing comfort might opt for the lower end, while heavier riders or racers might lean towards the higher end.
- Road Bikes (30-35mm tires): 60-90 PSI. The increased volume allows for lower pressures.
- Hybrid/Commuter Bikes (35-45mm tires): 50-80 PSI.
- Why: Higher pressure means less tire deformation, which translates to lower rolling resistance on smooth surfaces.
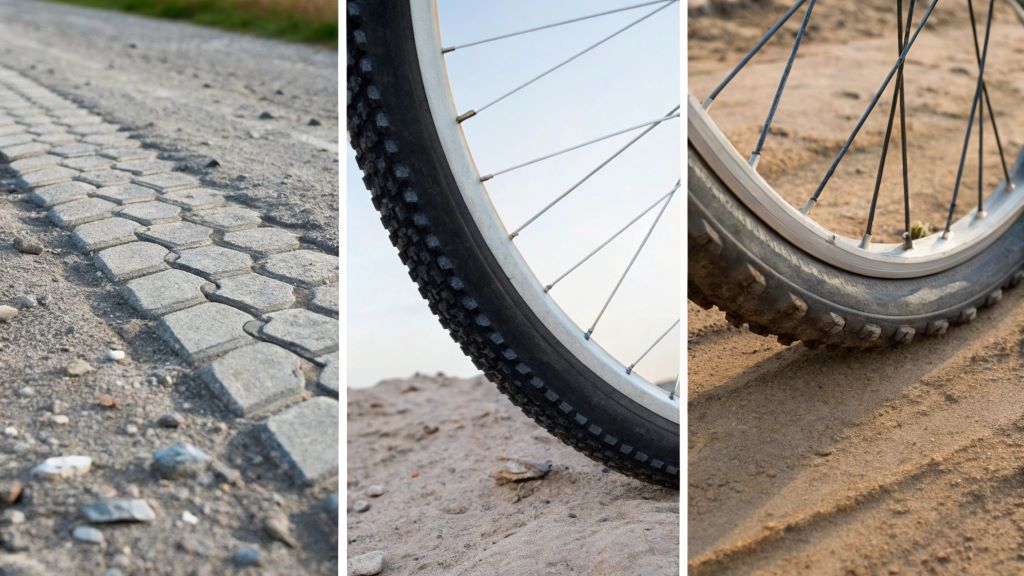
2. Gravel and Hard-Packed Dirt
The rapidly growing world of gravel cycling demands a nuanced approach.
- Characteristics: Loose gravel, hard-packed dirt, fire roads, some small rocks and roots.
- Goal: Balance rolling efficiency with traction, comfort, and puncture resistance.
- Pressure Recommendation: Significantly lower than road pressures. This allows the tire to deform and absorb small obstacles, reducing vibrations and increasing the contact patch for better grip on loose surfaces. It also helps prevent punctures from sharp gravel.
- Typical Range (Gravel Bikes, 38-50mm tires):
- Tubeless: 25-45 PSI. This is where tubeless truly shines, allowing for remarkably low pressures without pinch flat worries.
- Tubed: 35-55 PSI. You’ll need to be more cautious to avoid pinch flats.
- Why: Lower pressure allows the tire to conform to the irregular surface, increasing the contact patch for better grip on loose gravel and improving comfort by absorbing bumps. It also reduces deflection off sharp objects.
3. Light Trails and XC Mountain Biking (Dry Conditions)
Flowy singletrack, roots, small rocks, and climbs.
- Characteristics: Varied terrain with roots, rocks, and uneven surfaces; often involves climbing and descending.
- Goal: Maximize traction for climbing and cornering, provide comfort, and minimize pinch flats.
- Pressure Recommendation: Even lower than gravel pressures, especially with tubeless setups.
- Typical Range (XC Mountain Bikes, 2.1-2.4″ tires):
- Tubeless: 18-30 PSI. The exact pressure will depend heavily on rider weight, tire volume, and specific trail conditions.
- Tubed: 25-35 PSI. Pinch flats are a real concern here, so some caution is advised.
- Why: Low pressure is crucial for maximizing the contact patch, providing superior grip for technical climbing and confident cornering on loose dirt and roots. It also significantly improves comfort by soaking up trail chatter.
4. Technical Trails and Enduro/Downhill Mountain Biking
Steep descents, large rock gardens, drops, and aggressive riding.
- Characteristics: High-speed descents, significant obstacles, jumps, drops, and demanding terrain.
- Goal: Maximum grip, flat protection, and absorption of large impacts.
- Pressure Recommendation: Generally low, but high enough to prevent burping (air loss from tubeless tires) and rim strikes. Often, a slightly higher pressure in the rear tire is preferred due to greater weight distribution and impact on the rear wheel.
- Typical Range (Enduro/Downhill Mountain Bikes, 2.4-2.8″ tires):
- Tubeless: Front: 18-25 PSI; Rear: 20-28 PSI. Many aggressive riders will also use tire inserts (like CushCore) to allow even lower pressures and enhance rim protection.
- Why: Extremely low pressures are needed to allow the tires to conform to large obstacles, providing maximum traction for braking and cornering on steep and technical terrain. Tire inserts become invaluable here.
5. Sand and Mud
These challenging conditions require specific adjustments.
- Characteristics: Soft, yielding surfaces where tires can easily sink or lose traction.
- Goal: Maximize flotation and traction by increasing the contact patch.
- Pressure Recommendation: As low as you can comfortably go without risking rim strikes or excessive tire roll.
- Typical Range:
- Fat Bikes (4.0-5.0+” tires): 3-10 PSI. Fat bikes are designed for these conditions, and extremely low pressures allow them to “float” over the surface.
- Other Mountain Bikes (2.3″+ tires): 12-20 PSI.
- Why: Lowering the pressure significantly increases the tire’s footprint, allowing it to “float” on top of the soft surface rather than digging in, providing crucial traction.
6. Wet Conditions (All Terrain Types)
When the rain hits, consider these adjustments.
- Pressure Recommendation: Slightly lower (2-5 PSI) than your dry-condition pressure for the respective terrain.
- Why: A slightly lower pressure increases the contact patch, putting more rubber on the ground. This enhances grip on wet and slippery surfaces, improving braking and cornering confidence.
How to Find Your Sweet Spot: A Practical Approach
Finding your ideal tire pressure is an iterative process. Here’s how to approach it:
- Start with a Baseline: Use the general guidelines above based on your bike type, rider weight, and tire setup (tubeless vs. tubed).
- Invest in a Good Gauge: Don’t rely on the imprecise gauges on floor pumps. A dedicated digital or analog pressure gauge will give you accurate readings.
- Adjust Gradually: Make small adjustments (2-3 PSI at a time) and feel the difference.
- Ride and Observe: Pay attention to how the bike feels.
- Too High: Harsh ride, skittish handling, poor grip, bouncing off obstacles.
- Too Low: Sluggish handling, tire squirming, increased risk of pinch flats/rim strikes (for tubed setups), potential burping (for tubeless).
- Listen to Your Bike: Are you hearing rim strikes? Is the tire rolling over excessively in corners? These are signs that your pressure might be too low.
- Consider Tire Inserts: If you’re riding aggressively on technical terrain with a tubeless setup, tire inserts are a game-changer, allowing for even lower pressures and enhanced rim protection.
- Don’t Forget the Front vs. Rear: Many riders opt for slightly lower pressure in the front tire for enhanced steering grip and comfort, and slightly higher in the rear to handle more weight and impacts. A common starting point is 2-5 PSI less in the front than the rear.
Read More: Mountain Bike Tire Size: Impact, Selection and Performance Guide
The Evolution of Tire Pressure: Wider is Better
The cycling industry has seen a significant shift towards wider tires across all disciplines. This isn’t just a trend; it’s based on scientific evidence. Wider tires, with their larger air volume, allow for significantly lower pressures while maintaining good rolling efficiency and superior comfort and grip. This is a win-win for almost all riders, offering a more enjoyable and capable ride.
Conclusion: Master Your Ride, One PSI at a Time
Understanding and actively managing your bicycle tire pressure is one of the most impactful yet often neglected aspects of cycling. It’s a simple adjustment that can profoundly transform your ride, enhancing comfort, improving control, increasing speed, and protecting against punctures.
By recognizing the interplay between tire pressure and terrain type, and by experimenting to find your personal sweet spot, you’ll unlock a new level of performance and enjoyment from your bicycle. So, next time you roll out, take a moment to consider your tires – they’re your connection to the ground, and optimizing their pressure is the key to mastering any terrain. Happy riding!
Read More:
Dirt Jump Tires: Your Guide to Picking the Perfect Rubber for Sending It!
How to Install Road Tires on a Mountain Bike – The Easy Way

Welcome to outdoorxsports.com! I’m Russell, your guide to the awesome world of mountain biking. This blog is all about building a community of riders who love to share their passion for the sport. Expect inspiring stories, local trail recommendations, fun challenges, and tips for making the most of your time on two wheels.