
Upgrading your mountain bike with Hapleby Premium Bike Pedals can transform your riding experience. Studies show that 78% of cyclists report better control and comfort after switching to premium pedals. These pedals offer superior grip and durability for rugged trails. Installing them yourself saves time and money. You only need basic tools and a little patience.
This guide will walk you through the process step by step. You will learn how to remove old pedals and install new ones safely. We will also cover tips for maintaining your Hapleby pedals in different climates. By the end you will feel confident tackling this upgrade on your own.
Why Choose Hapleby Premium Bike Pedals
Hapleby Premium Bike Pedals stand out for their lightweight aluminum build. They provide excellent traction for mountain biking on rough terrain. The sealed bearing system ensures smooth rotation and long-lasting performance. Riders also appreciate the customizable color options to match their bike.
These pedals are designed to handle extreme conditions. Whether you ride in wet climates or dry dusty trails they resist wear. The wide platform distributes pressure evenly for added comfort. This reduces foot fatigue during long rides. Many users also note the easy maintenance of these pedals.
Tools and Materials Needed
Gather a pedal wrench or a 15mm open-end wrench before you start. You will also need a grease or anti-seize compound for the threads. A torque wrench is helpful but not required. Have a clean rag ready to wipe down parts.
If your bike has reflectors on the pedals remove them first. Keep a small container handy for storing small parts like washers. Work in a well-lit area with plenty of space. This makes the process smoother and reduces the chance of losing tools.
Preparing Your Mountain Bike
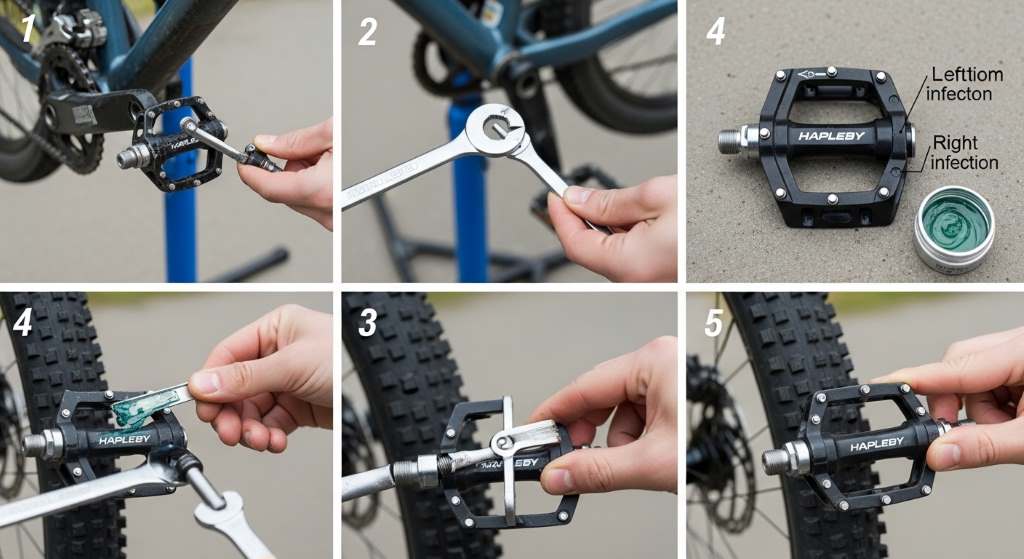
Start by shifting the chain onto the largest chainring. This protects your hands from the chain while working. Place your bike on a stable stand or flip it upside down. Resting it on the seat and handlebars works if you do not have a stand.
Clean the pedal threads on the crank arms with a rag. This removes dirt and grime that could affect the installation. Check the crank arms for damage or wear. If you notice cracks or stripping consult a professional before proceeding.
Removing the Old Pedals
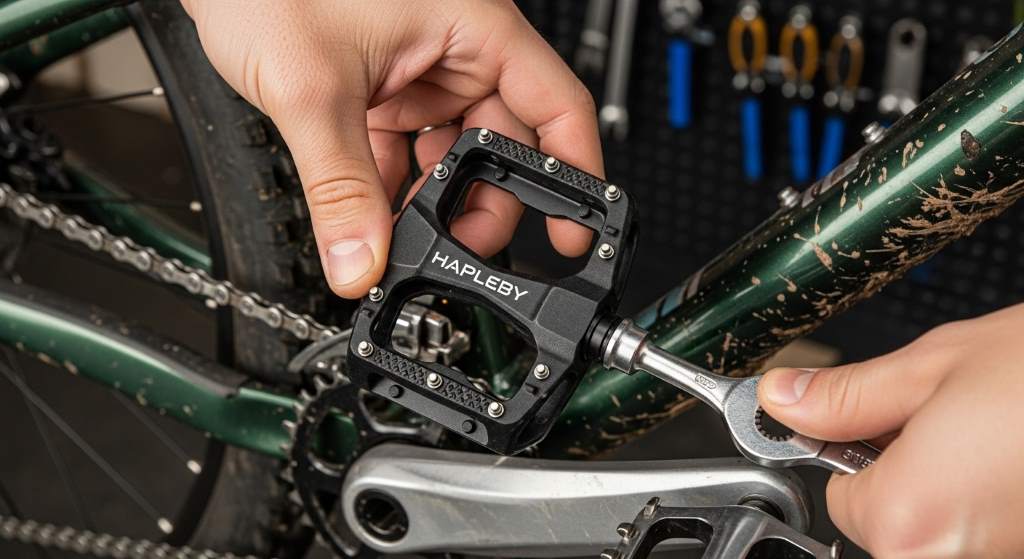
The right pedal has a right-hand thread and unscrews counterclockwise. The left pedal has a left-hand thread and unscrews clockwise. This reverse threading prevents the pedals from loosening while you ride. Use your wrench to turn the pedal axle in the correct direction.
Apply steady pressure to break the pedal free from the crank arm. If the pedal is stuck use penetrating oil and wait a few minutes. Avoid using excessive force as this can damage the crank arm. Once loose unscrew the pedal completely by hand.
Installing Hapleby Premium Bike Pedals
Apply a thin layer of grease to the threads of the new Hapleby pedals. This prevents seizing and makes future removal easier. Start with the right pedal and screw it into the right crank arm by hand. Turn it clockwise to tighten.
Once the pedal is hand-tight use your wrench to secure it further. Tighten it to the manufacturer’s recommended torque usually around 30-40 Nm. Repeat the process for the left pedal remembering to turn it counterclockwise to tighten. Double-check both pedals to ensure they are secure.
Pro Tip for Smooth Installation
If you live in a humid climate like Bangladesh apply extra grease to the threads. This protects against rust and corrosion from moisture. In dry climates use anti-seize compound to prevent the pedals from fusing to the crank arms. Always recheck the tightness after your first ride.
Maintaining Your Hapleby Pedals
Clean your pedals regularly with a damp cloth and mild soap. Avoid using high-pressure water as it can damage the bearings. Dry the pedals thoroughly after cleaning to prevent rust. Check the threads and tightness every few months.
If you notice squeaking or resistance the bearings may need lubrication. Remove the pedals and apply bearing grease as needed. Reinstall them following the same steps as above. This simple maintenance extends the life of your Hapleby pedals.
Unique Tip: Customizing Pedal Grip
Hapleby Premium Bike Pedals come with replaceable grip pins. These pins provide extra traction for aggressive riding. You can adjust the pin length to suit your riding style. Shorter pins work well for casual riding while longer pins offer better grip for downhill trails.
To replace the pins use a small Allen wrench to unscrew them from the pedal body. Insert new pins and tighten them securely. This customization allows you to fine-tune your pedals for optimal performance. Experiment with different pin configurations to find what works best for you.
Safety Precautions
Always wear gloves when working on your bike to protect your hands. Ensure your bike is stable and will not tip over while you work. If you are unsure about any step consult a professional bike mechanic. Safety should always come first.
Test your new pedals in a safe area before hitting the trails. Spin the pedals by hand to ensure they rotate smoothly. Check for any wobbling or unusual noises. If everything looks good take a short ride to confirm the installation.
Troubleshooting Common Issues
If a pedal feels loose after installation it may not be tightened enough. Use your wrench to secure it further. If the pedal still wobbles the crank arm may be damaged. In this case seek professional help.
Squeaking noises often indicate dry bearings or loose parts. Lubricate the bearings and check all bolts and screws. If the noise persists the pedal may need to be replaced. Regular maintenance prevents most issues from arising.
Conclusion
Installing Hapleby Premium Bike Pedals is a simple process with the right tools and guidance. These pedals offer durability comfort and style for mountain bikers. By following this guide you can upgrade your bike and enjoy a better riding experience.
Do not wait to try this upgrade on your own. Share your experience with fellow riders and encourage them to do the same. Happy riding and enjoy the improved performance of your new pedals.
FAQ
Do I need special tools to install Hapleby Premium Bike Pedals?
No you only need a pedal wrench or a 15mm open-end wrench and grease.
How often should I check the tightness of my pedals?
Check the tightness after the first ride and then every few months.
Can I use Hapleby pedals on any mountain bike?
Yes they are compatible with most mountain bikes with standard 9/16-inch pedal threads.
What should I do if my pedals start squeaking?
Lubricate the bearings and check for loose parts.
Are Hapleby pedals suitable for wet climates?
Yes their sealed bearing system resists moisture and rust.

Welcome to outdoorxsports.com! I’m Russell, your guide to the awesome world of mountain biking. This blog is all about building a community of riders who love to share their passion for the sport. Expect inspiring stories, local trail recommendations, fun challenges, and tips for making the most of your time on two wheels.