
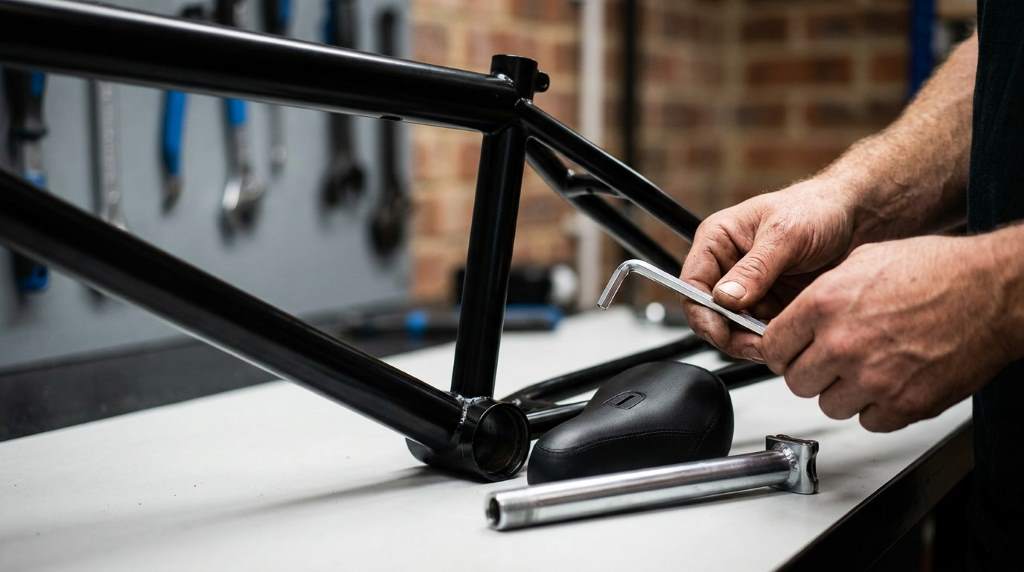
A comfortable bike seat can improve control and reduce riding fatigue during long sessions. Studies show that proper bike fit can increase pedaling efficiency by nearly 10 percent. Learning how to install a new BMX bike seat is an easy skill that every rider should know. Before starting, choosing the right bmx bike seat helps create a better riding experience and supports safe performance on every trail.
Many BMX riders replace seats because of wear, damage, or changing riding styles. Fortunately, installing a new seat requires only a few tools and a little patience. This guide explains every step clearly so you can complete the task confidently at home.
Why Replacing a BMX Bike Seat Matters
A damaged seat can make riding uncomfortable and affect overall bike handling. Cracked covers and loose rails often lead to poor balance and unnecessary distractions.
Besides comfort, a new seat can improve posture during tricks and long rides. Therefore, replacing an old seat becomes an important part of regular bike maintenance.
Understanding BMX Bike Seat Types
Before installing a seat, it helps to understand the different BMX seat designs. Each style uses a slightly different installation method.
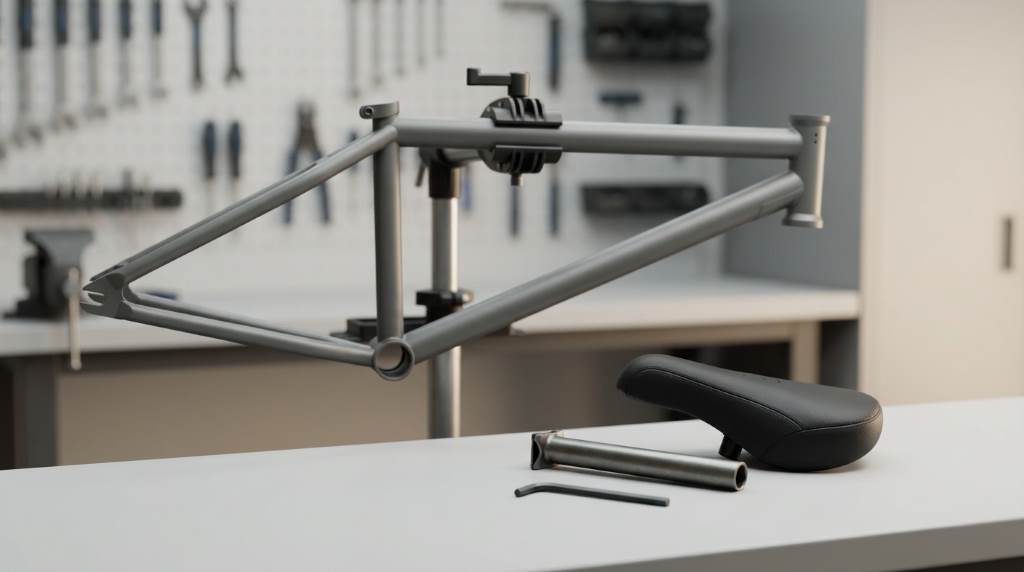
Pivotal Seats
Pivotal seats use a single bolt underneath the saddle. Riders like them because they look clean and allow easy angle adjustments.
Tripod Seats
Tripod seats attach with two bolts under the seat. They provide a lower profile and lighter overall weight.
Rail Seats
Rail seats use traditional metal rails and a seat clamp. Although slightly heavier, they offer more adjustment options.
Tools Needed to Install a New BMX Bike Seat
Gathering tools before starting saves time and prevents mistakes during installation. Most BMX seat replacements require only basic equipment.
- Allen wrench set
- Socket wrench
- Clean cloth
- Bike grease
- Torque wrench if available
Having the correct tools nearby makes the process smoother and protects bike components from damage.
How to Install a New BMX Bike Seat Step by Step
Step 1: Place the Bike Securely
First, place the BMX bike on a level surface. A repair stand helps, but a wall can also support the bike safely.
Keeping the bicycle stable prevents accidental falls while you work. Additionally, it makes reaching the seat hardware much easier.
Step 2: Remove the Old Seat
Use the correct wrench to loosen the mounting bolt or clamp. Then remove the old seat carefully without forcing any parts.
If dirt surrounds the seat post, wipe the area with a clean cloth. Cleaning prevents grime from entering moving components.
Step 3: Inspect the Seat Post and Hardware
Check the seat post for cracks, rust, or bent components. Damaged parts should be replaced before installing the new seat.
Examine all bolts and washers as well. Worn hardware may loosen during riding and create safety risks.
Step 4: Apply a Small Amount of Grease
Apply a thin layer of grease to the bolts and metal contact points. This step helps prevent corrosion and future seizing.
However, avoid using excessive grease because it can attract dirt. A small amount works best for BMX maintenance.
Step 5: Attach the New Seat
Position the new seat according to its mounting style. Insert the bolts carefully and tighten them by hand first.
Hand tightening ensures proper alignment before applying full torque. This simple habit prevents cross threading and damaged hardware.
Step 6: Adjust the Seat Angle
The seat angle affects both comfort and control during riding sessions. Most riders prefer a level or slightly upward position.
Make small adjustments until the seat feels comfortable. Then tighten the mounting bolts evenly and securely.
Step 7: Test the Installation
Press down on the seat firmly to confirm it does not move. Next, ride the bike slowly and check for unusual sounds.
If the seat shifts during testing, tighten the hardware again. Proper testing ensures safe riding conditions.
Common Mistakes to Avoid
Many riders rush the installation process and create unnecessary problems. Avoiding common errors helps the seat last longer.
- Over tightening the bolts
- Ignoring damaged seat hardware
- Installing the seat at an awkward angle
- Skipping the test ride
- Using incorrect tools
Taking a few extra minutes often prevents future repairs and improves overall riding comfort.
How to Choose the Right BMX Seat
The ideal seat depends on riding style and personal preference. Street riders often prefer slim seats because they offer better bike control.
Trail and park riders may choose thicker padding for extra comfort. Therefore, understanding your riding habits helps narrow the options.
Consider these factors before buying a replacement seat:
- Seat material quality
- Padding thickness
- Weight and size
- Mounting system compatibility
- Brand reputation
Maintenance Tips After Installing a New BMX Bike Seat
Regular maintenance keeps the new seat secure and comfortable. Check the mounting bolts every few weeks to ensure proper tightness.
Cleaning the seat regularly also helps preserve the cover material. Dirt and moisture can shorten the lifespan of bike components.
Store the bike indoors whenever possible. Protection from extreme weather conditions helps prevent unnecessary wear.
Signs That Your BMX Bike Seat Needs Replacement
Even a high quality seat eventually wears out after repeated use. Recognizing the warning signs can prevent discomfort and accidents.
- Torn seat cover
- Loose rails or bolts
- Exposed foam padding
- Visible cracks
- Persistent movement while riding
Replacing the seat quickly keeps your BMX bike in excellent condition and improves riding confidence.
How to Install a New BMX Bike Seat Successfully
Installing a new BMX bike seat is a simple project that delivers immediate comfort and better bike control. By following the correct steps, even beginners can complete the process safely.
Inspect your bike regularly and replace worn components before they cause bigger problems. Install your new BMX bike seat today and enjoy a smoother, more confident ride across every street, park, and trail in the USA.
Frequently Asked Questions
How long does it take to install a new BMX bike seat?
Most riders finish the installation process in less than twenty minutes.
Can I install a BMX seat without professional help?
Yes, basic tools and careful instructions are usually enough for installation.
Should I grease the seat bolts?
Yes, a small amount of grease helps prevent rust and seizing.
How tight should BMX seat bolts be?
Tighten the bolts firmly according to the manufacturer’s recommendations.
Can any BMX seat fit every bike?
No, you must choose a seat compatible with your mounting system.
Welcome to outdoorxsports.com! I’m Russell, your guide to the awesome world of mountain biking. This blog is all about building a community of riders who love to share their passion for the sport. Expect inspiring stories, local trail recommendations, fun challenges, and tips for making the most of your time on two wheels.