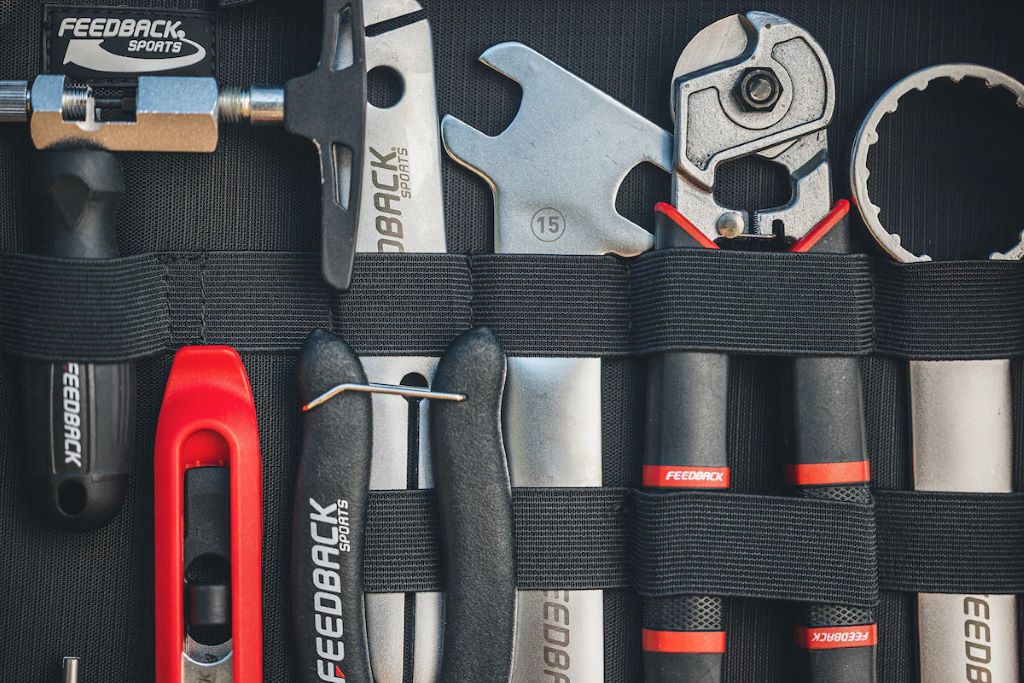
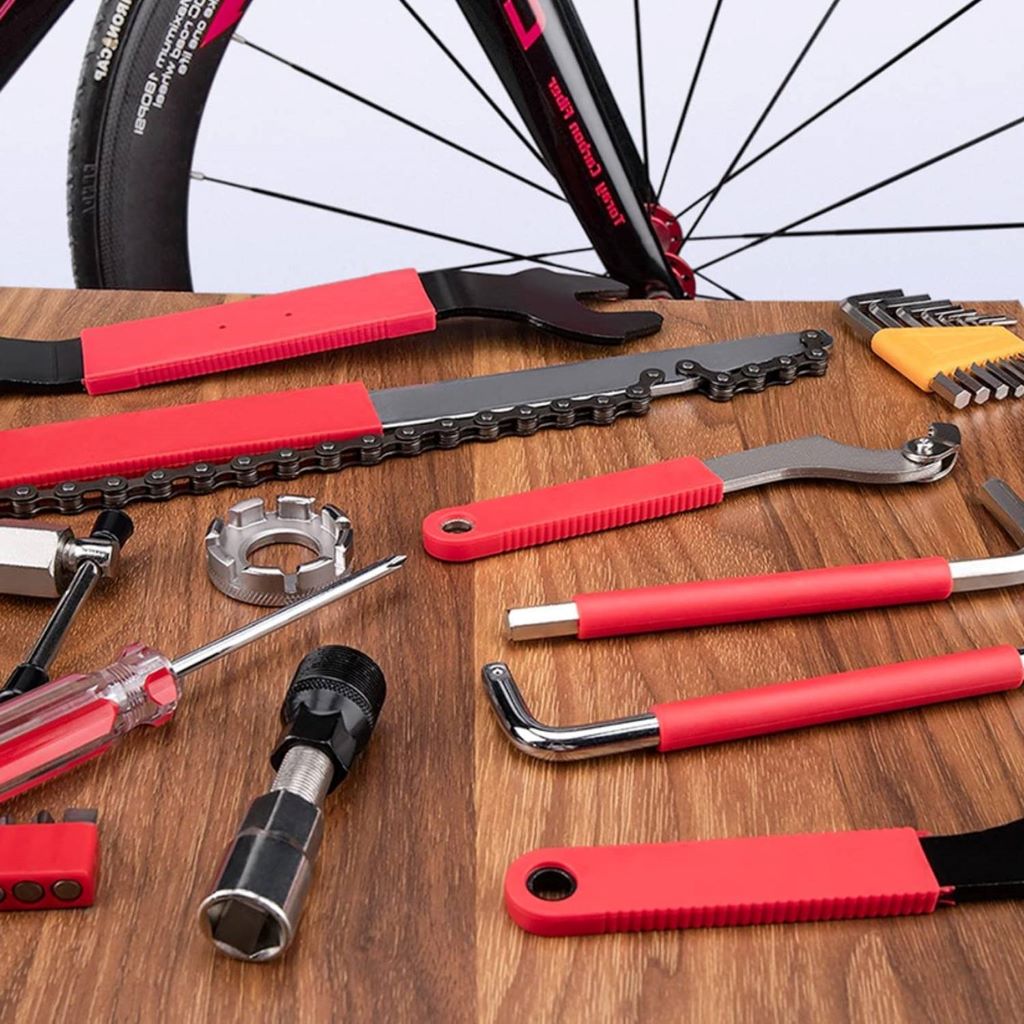
Building a custom BMX bike is an exciting project that lets you create a ride tailored to your style and preferences. However, having the right tools is crucial for a successful build. Whether you’re a seasoned BMX enthusiast or a newcomer, this guide outlines the essential tools you’ll need in your workshop:
Core Tools:
- Metric Allen Wrench Set: BMX bikes use metric fasteners extensively. A complete set of Allen wrenches (hex keys) is indispensable for tightening and loosening bolts throughout the bike.
- Socket and Ratchet Set: For crank installation, pedal removal, and other tasks requiring higher torque, a metric socket set with a ratchet is essential.
- Torque Wrench: Overtightening bolts can lead to damage, while under-tightening can cause parts to loosen. A torque wrench allows you to apply the precise amount of force specified by manufacturers.
- Spoke Wrench: If you plan on building or truing wheels, a spoke wrench is a must-have. It allows you to adjust spoke tension for optimal wheel performance.
- Tire Levers: Changing or repairing a flat tire requires tire levers to pry the tire bead off the rim. Look for sturdy, durable levers that won’t damage your rims.
- Cable Cutters and Crimpers: If your build involves working with brake or gear cables, cable cutters, and crimpers are needed to cut and secure cable ends.
Specialty Tools:

- Crank Puller: Removing cranks from the bottom bracket requires a crank puller specific to the type of crank you’re using.
- Chain Breaker: A chain breaker simplifies the process of removing and installing chains. Make sure to choose one compatible with your chain type (e.g., single-speed, cassette).
- Bottom Bracket Tool: This tool is used to install and remove bottom brackets, which house the crank spindle. Different types of bottom brackets require specific tools.
- Headset Press: Installing a new headset or fork requires a headset press to ensure proper alignment and seating.
- Bearing Press: Some BMX components, such as hubs, may require a bearing press for installing or removing bearings.
Additional Tools (Optional but Useful):
- Bike Stand: A bike stand elevates your BMX off the ground, making it easier to work on various components.
- Mechanic’s Gloves: Protect your hands from grime and potential injuries while working on your bike.
- Lubricant and Grease: Proper lubrication of moving parts is essential for optimal performance and longevity.
- Truing Stand: If you’re serious about wheel building, a truing stand allows you to accurately assess and correct wheel alignment.
Related: 10 Must-Know Tricks for Flatland BMX Beginners: Master the Basics & Unleash Your Style
Building Your Collection:
You don’t need to acquire all these tools at once. Start with the core tools and gradually add specialty tools as you gain experience and tackle more complex builds. Many bike shops offer tool rental services, which can be a cost-effective option for occasional use.
Related: Pimp Your Ride: A Guide to Painting Your BMX Bike
Safety First:
Always prioritize safety when working on your BMX bike. Wear eye protection, follow manufacturer instructions, and don’t hesitate to seek help from experienced mechanics if you’re unsure about a specific task.
Building Your Dream Ride:
With the right tools and knowledge, building a custom BMX bike is a rewarding experience. The ability to personalize every aspect of your ride, from the frame and components to the color scheme, is empowering. So, gather your tools, unleash your creativity, and enjoy the journey of creating your dream BMX bike.
Let me know if you’d like me to adjust any aspect of this article or explore a specific tool in more detail.

Welcome to outdoorxsports.com! I’m Russell, your guide to the awesome world of mountain biking. This blog is all about building a community of riders who love to share their passion for the sport. Expect inspiring stories, local trail recommendations, fun challenges, and tips for making the most of your time on two wheels.

