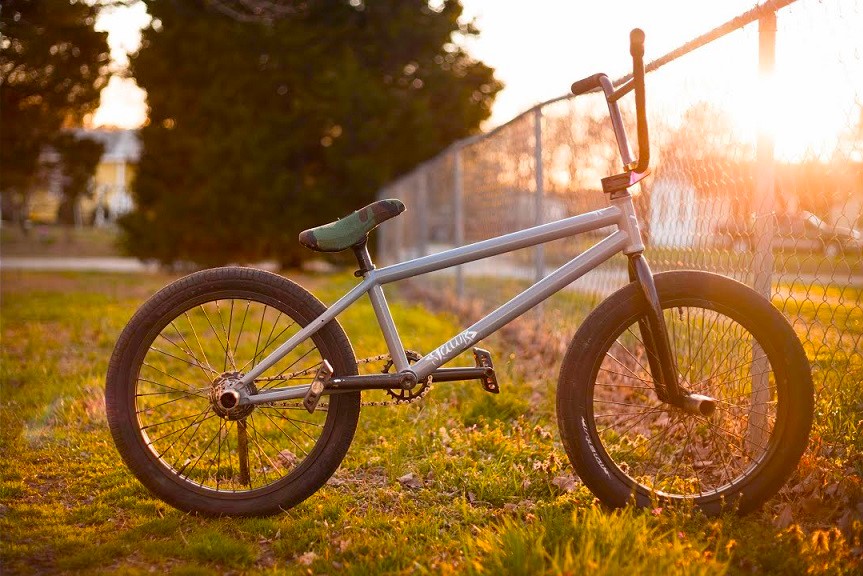
A BMX bike is more than just a means of transportation; it’s an extension of your personality. So why not customize it with a fresh coat of paint? This guide will take you through the process, from prepping your bike to achieving a stunning, long-lasting finish, whether you’re a BMX newbie or a seasoned rider looking to refresh your ride.
Before You Begin: Safety and Essential Tools
- Safety First: Paint fumes can be harmful. Always work in a well-ventilated area, wear a respirator and gloves, and protect your eyes with safety goggles.
- Gather Your Supplies:
- Sandpaper: Medium and fine grit sandpaper for prepping the frame.
- Degreaser: To remove grime and grease.
- Rags: For cleaning and wiping.
- Drop Cloths: To protect your workspace.
- Masking Tape and Paper: For masking off areas you don’t want painting.
- Primer: Essential for paint adhesion. Choose an etching primer for extra durability on bare metal.
- High-quality Spray Paint: Designed for metal and available in a vast array of colors. Consider getting two or three cans for multiple coats.
- Clear Coat (Optional): Adds an extra layer of protection and shine.
Disassembly (Optional but Recommended)
For a truly professional finish, disassemble your BMX bike. This allows you to paint every nook and cranny. If you’re comfortable with basic bike mechanics, remove the handlebars, wheels, seats, cranks, and brakes. For those who prefer to keep things assembled, meticulously mask off these areas with high-quality masking tape and paper.
Related: 9 Best Lightweight BMX Bikes for Your Next Outdoor Adventure
Prepping the Frame is the Key
A thorough cleaning and prepping process is crucial for a successful paint job.
- Degrease: Use a degreaser to remove any dirt, oil, or grease from the frame. Let it dry completely.
- Sanding: Using medium-grit sandpaper, rough up the entire frame’s surface. This creates a good texture for the primer to adhere to. Follow up with fine-grit sandpaper to achieve a smooth finish. Wipe away any dust with a clean rag.
Priming for Perfection
Primer acts as a double agent, promoting paint adhesion and providing a uniform base coat.
- Shake well: Most primers come in spray cans. Give the can a good shake for at least a minute before use.
- Thin, Light Coats: Apply several thin coats of primer in light, sweeping motions, allowing each coat to dry completely before applying the next.
Painting Like a Pro
Now comes the fun part – adding color!
- Shake it Again: Just like with primer, thoroughly shake the paint can for at least a minute.
- Light and Even Coats: Hold the can 8-12 inches from the frame and spray in light, even coats. It’s better to apply multiple thin coats than one thick coat that can drip or run.
- Multiple Coats are Mandatory: Apply 2-3 coats of paint, allowing ample drying time between each.
Related: The 10 Best BMX Bikes for Adults In 2024 [Updated]
Pro Tip: Achieve a Flawless Finish
For an exceptionally smooth finish, use the “wet sanding” technique between paint coats. Lightly sand the painted surface with fine-grit sandpaper wetted with water. Wipe clean and dry completely before applying the next coat.
Clear Coat for Extra Protection (Optional)
Once the paint is completely dry, you can apply a clear coat for extra protection against scratches and UV rays. Follow the same application method as with primer and paint.
Reassembly and the Big Reveal
Once the paint (and clear coat, if used) is thoroughly dry, carefully reassemble your bike (if disassembled) or remove the masking materials. Step back and admire your freshly painted BMX masterpiece!
Extra Tips for the Discerning BMXer
- Drop Cloth Creativity: Use a drop cloth with a hole cut in the middle to suspend your frame while painting, allowing for easy access to all sides.
- Ventilation is Vital: Ensure proper ventilation throughout the painting process. Open windows and doors, and consider using a fan to promote airflow.
- Practice Makes Perfect: Before tackling your BMX, try out your spray-painting technique on a scrap piece of metal or cardboard.
With a little patience and these helpful pointers, you can transform your BMX bike into a head-turning, personalized ride that reflects your unique style.

Steve J. Robin is the Senior Mountain Bike Review Editor at Outdoorxsports. Steve has lived in Heron Way, Milwaukie for 15 years. Steve earned his Bachelor’s degree at the University of Wisconsin Milwaukee, which has extensive biking training facilities, he had taken up biking seriously as a teenager and later became obsessed with mountain biking. He is an obsessive mountain bike racer and rubbed shoulders with the bike and that he rides with, riding is so much more than a hobby for him with a mild addiction to Endomondo. On September 21, 2015, he released a five-and-a-half-minute mountain biking’s video on YouTube that was to change his biking life. The video got a few thousands of views overnight as of today– the world went crazy for Steve. Since the video went viral, things changed fast; Steve found himself featured in MTB-MAG, joined a production as a stunt man.

