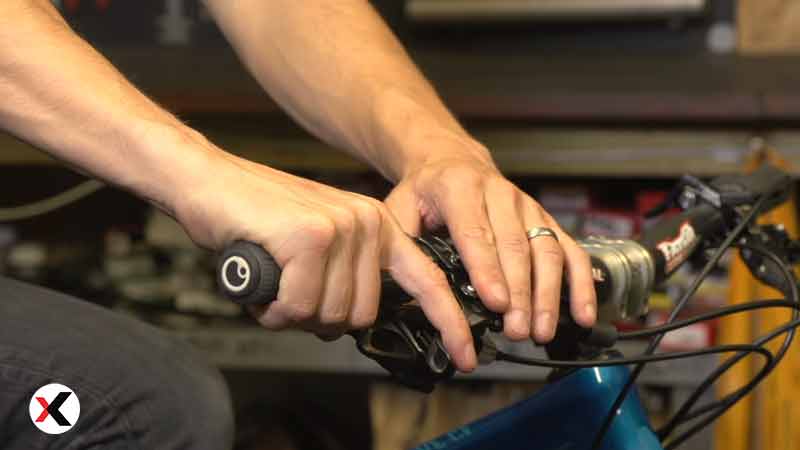
Today we’re going to take a closer look at the brakes. How does the whole thing work?
What sort of issues might occur and what tools do we need to tackle these problems?
After riding your bike for a while it’s possible that your brakes might lose their stopping power. This article here we are going to show you how to fix that problem.
First Step
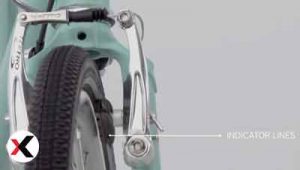 There are a few places where your brakes might need adjustment. First, take a look at your brake pads to make sure they are not overly warm.
There are usually indicator lines on the brake pads if they’re completely worn down you’ll need to install new ones.
Second Step
 The next thing to check is to make sure that the whole brake pad hits the surface of the rim.
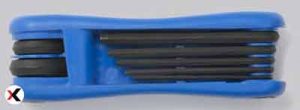
In this step you have to need a five-millimeter Allen wrench.
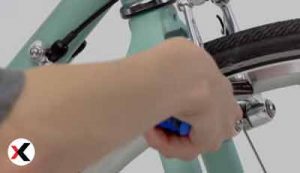
If the brake pad isn’t positioned properly then use a five-millimeter Allen wrench to loosen the nut on the back of the brake pad.
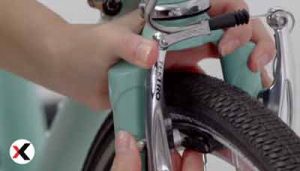
Adjust your pad so it’re perfectly centered in a line with the rim. One trick is to push the brake arm toward the rim to hold the brake in place.
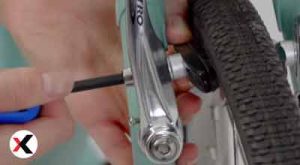 Once it’s centered slightly tilt the pad so that the leading edge contacts the rim just before the back. This will prevent that annoying squealing noise when you’re slowing down.
Now screw the brake pad in place making sure it doesn’t move as you tighten.
Final Step
You want to make sure that the brake pads hit the rim at the same time.
If they don’t, you’ll need to adjust the tension the brakes on your she-devil have spring tension adjustment screws on each brake arm.
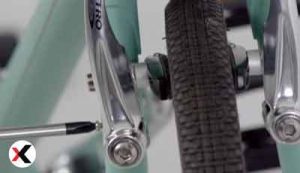
You’ll need a Phillips screwdriver for this part if you need to move a pad closer to the rim screw to the left if you need to move a pad away from the rim screw to the right.
We recommend starting with the pad closest to the rim moving it slightly back but you may need to adjust both to get the same point of contact.
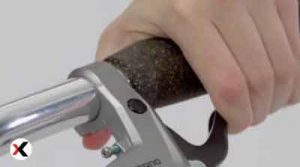
The other place you might need to adjust is at the brake lever if you can pull the lever all the way down to the grip.
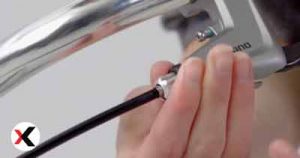
You’ll need to adjust the cable tension to add more attention to the brake cable spin the barrel adjuster counterclockwise.
As you turn you should notice the brake pads getting closer and closer to the rim. Stop it when the pads are set about 5 millimeters from the rim.
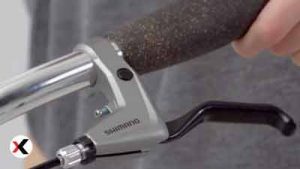
Once you’ve done that spin the locking ring clockwise until it’s flush with the brake lever.
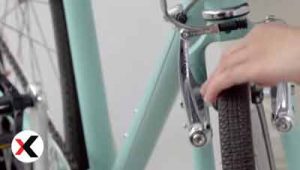
As a final check pick, the wheel up and spin it and it should pass through the brake pads without rubbing.
Now squeeze the brake lever to make sure the wheel stops quickly.
How to tighten mountain bike brakes
Check the Lever Position
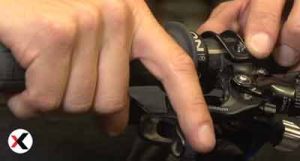 Your mountain bike brake setup number one let’s look at the lever position actually on the handlebar. First, if you’ve got a modern bike with disc brakes you should definitely try and learn to ride with one finger on the brake.
If you’re not doing it already so I actually recommend setting your brake lever up so it’s moved right in on the handlebar so you can’t actually fit more than one finger on there.
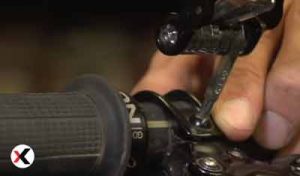
It’s a lot of people do use two fingers but actually slide it in a little bit further you just get much more grip on the handlebars.
If you’ve got these three fingers annual thumb wrapped around so slide it in and just tighten that up slightly.
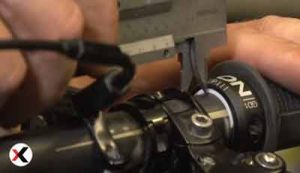 Now check your bike lever set up and trying to match the other one it depends on how accurate you want to get you could use a caliper.
Just to measure the gap between the edge of the grip and the brake lever or you could just do it by sight but let’s try and get it perfect.
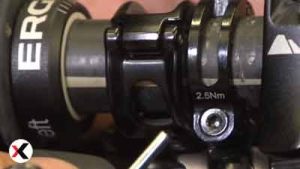 It’s going to tighten that brake lever down. You are not going to worry about the angle of them just for now you just going to get the position on the bar setup because what you will do is see your brake levers and then you will do your dropper post.
Then you will do your shifters that sort of the order of importance for you the ones that you need to use the best.
You can’t always get them in the perfect position luckily on this bike I’ve got this nice Ram matchmaker thing so my shifter is mounted onto the brake lever you don’t have to worry about too many clamps on the bars.
Lever angle Fix
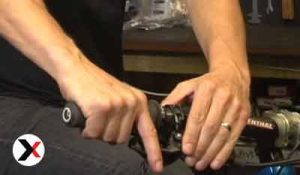 So now for brake lever angle on the bar, you need to make sure they’re in a usable angle most of the time.
So when you’re breaking you’re actually over the back of the bike so that’s when you need that break leave it to be reachable.
See quite a few people have them quite dropped quite low on the bars and actually means that you can’t get to them so easily and actually you have to bring your wrist over the top and put a little bit more weight on the handlebars.
Reach
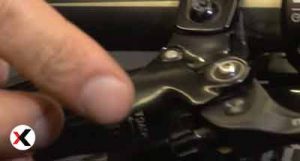 So when you get down a touch so there are a couple more adjustments you can make to your brakes that really make them that much more usable.
The first one is to reach almost every single brake lever has option this ceramic IDE has this really easy sort of hand dial.
Here sometimes you might find a small tube allowing the key to mess around with and play around with that reach.
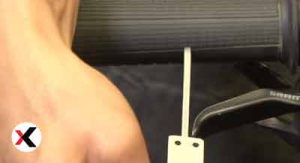
if you’ve got small hands it’s really helpful seeing just wind that brake either all the way in so you have to really stretch through it.
Match the two levers you can use a caliper or Allen key or something to rest it against your grip kid at the same sides.
Contact Point
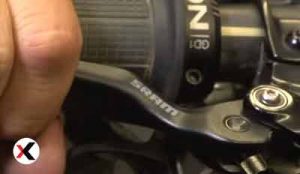 Finally, some brake levers have contact point adjustment or bite point adjustment you
see on the Ram one and that’s on the maximum so the brake leave is actually traveling a long way and this just adjusts how far that moves.
Before you hit that bite point it’s a person, you like to wind them all the way in so the brake lever doesn’t move quite so much.
It maybe gives you a little bit less modulation because it leverages doesn’t travel to see they’re on or off but you rather that and then you will sort of use your brain to modulate the brake rather than rely on the sort of mechanical side of things.
That’s also very important if you have your reach quite far in if you have that out then the leaver can travel so far that it touches the handlebar.
So, make a sure to play around with that and there you go my reach is set and a contact point set.
Conclusion
So finally, have another look now if you pull on the lever easily that’s really nice bite and your job is done! Now hopefully your bike brakes are once again tip-top and the bike is ready to go for a spin. That’s it for this tech tip of how to tighten your bike brake.

Steve J. Robin is the Senior Mountain Bike Review Editor at Outdoorxsports. Steve has lived in Heron Way, Milwaukie for 15 years. Steve earned his Bachelor’s degree at the University of Wisconsin Milwaukee, which has extensive biking training facilities, he had taken up biking seriously as a teenager and later became obsessed with mountain biking. He is an obsessive mountain bike racer and rubbed shoulders with the bike and that he rides with, riding is so much more than a hobby for him with a mild addiction to Endomondo. On September 21, 2015, he released a five-and-a-half-minute mountain biking’s video on YouTube that was to change his biking life. The video got a few thousands of views overnight as of today– the world went crazy for Steve. Since the video went viral, things changed fast; Steve found himself featured in MTB-MAG, joined a production as a stunt man.

