
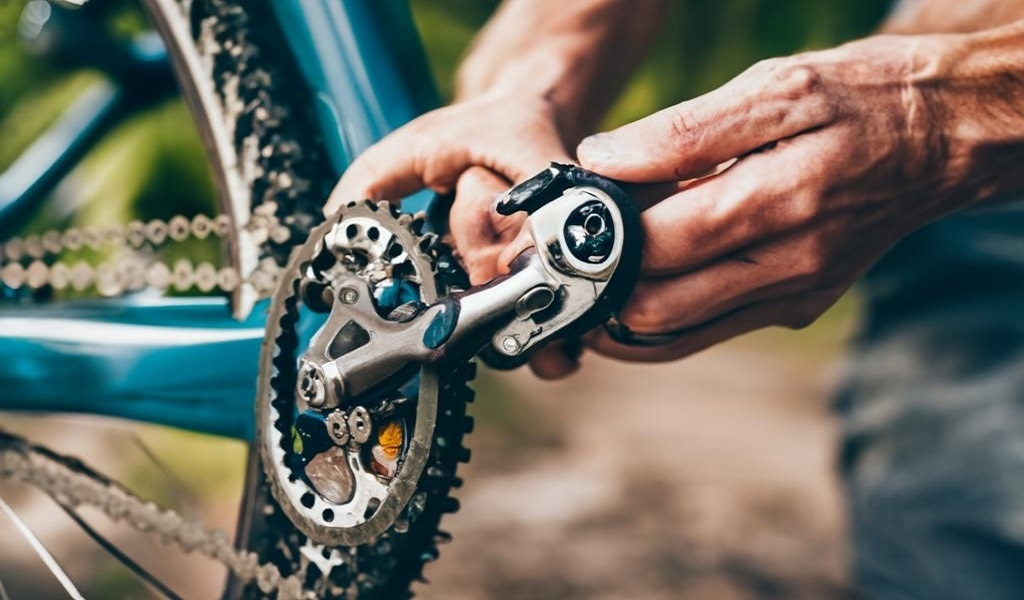
A stubborn mountain bike pedal can bring your ride screeching to a halt. Fear not, fellow cyclists! Removing a stuck pedal, while sometimes requiring a little muscle, is usually a manageable task. This guide will equip you with the knowledge and techniques to get you back on the trail.
Understanding the Threads: Lefty Loosey, Righty Tighty (Usually)
Most mountain bikes adhere to the standard “lefty loosey, righty tighty” rule. However, there’s a crucial twist: the left pedal has reverse threads. This means to loosen the left pedal, you’ll be turning it clockwise. The right pedal loosens counterclockwise, as expected. Double-check this before cranking away to avoid tightening the pedal further.
Essential Tools for the Job
Before tackling your stuck pedal, gather these tools:
- Proper pedal wrench or hex key: Identify your pedal type. Most require a dedicated pedal wrench that fits the flats on the pedal body. Some use a hex key that inserts into a socket on the end of the pedal spindle.
- Penetrating fluid: Apply a penetrating fluid like WD-40 or a bike-specific lubricant to loosen any corrosion or grime around the threads.
- Rag: Wipe away excess lubricant and grime.
- Optional: Strap wrench or vise (advanced): These tools can provide additional leverage in stubborn cases. However, use caution to avoid damaging the pedal or crank arm.
Steps to Remove a Stuck Pedal
- Identify the pedal: Locate the “driveside” (where the chainring is) and “non-driveside” (opposite the chainring). Remember, the left pedal has reverse threads.
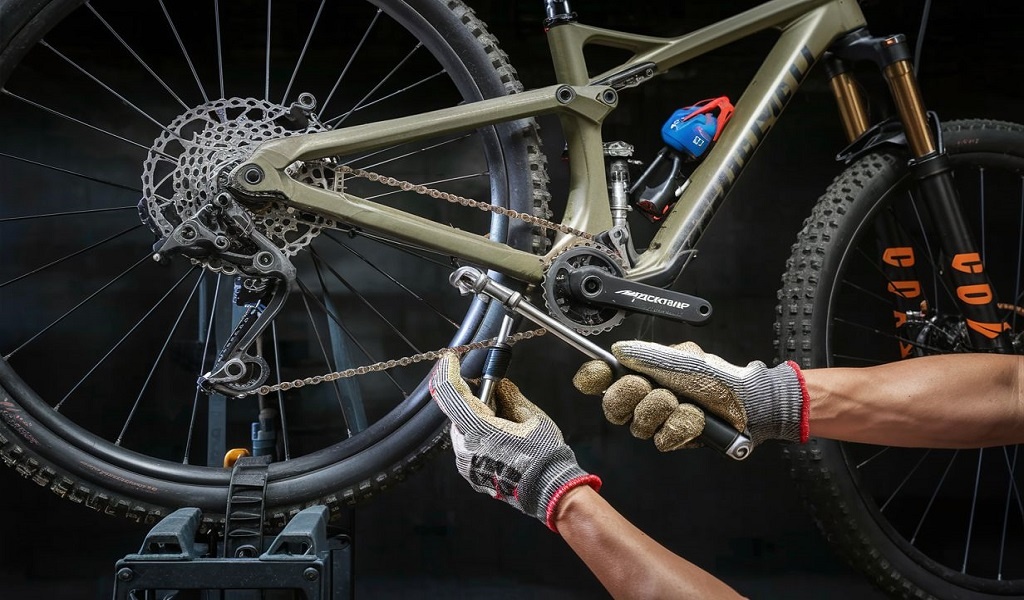
- Position the bike: Securely clamp your bike in a repair stand or have a friend hold it steady.
- Apply penetrating fluid: Let the penetrating fluid sit for 5-10 minutes to work its magic.
- Attach the wrench: Place the wrench or hex key securely on the pedal spindle.
- Apply force: Turning in the correct direction (counter-clockwise for the right pedal, clockwise for the left pedal), apply firm and steady pressure to loosen the pedal. If the pedal doesn’t budge, try using short, sharp bursts of force instead of constant pressure.
- Increase leverage (optional): If the pedal remains stuck, consider these options:
- Strap wrench: For pedals with a suitable surface, a strap wrench can provide extra grip without damaging the finish. Wrap the strap securely around the pedal body and pull in the loosening direction.
- Vise (advanced): If you have a vise and the necessary adapters, you can secure the crank arm in the vise and apply torque with the wrench on the pedal spindle. Be very cautious not to over-tighten the vise or damage the crank arm.
Pro-Tip: If all else fails, don’t force it! You risk damaging the threads or crank arm. Take your bike to a qualified mechanic who has access to more specialized tools and techniques.
Preventing Stuck Pedals in the Future
Here are some tips to keep your pedals turning smoothly:
- Proper torque: When installing pedals, use a torque wrench to tighten them to the manufacturer’s specifications. Overtightening can lead to future removal difficulties.
- Regular maintenance: Periodically check your pedals for tightness and apply a touch of grease to the threads before reinstalling.
- Cleanliness: After rides, especially in wet or muddy conditions, clean the pedal threads and crank arm to remove dirt and debris that can contribute to corrosion.
By following these steps and preventative measures, you can keep your mountain bike pedals spinning freely for countless rides to come. Happy trails!
FAQ: Stuck Mountain Bike Pedal
Q: My mountain bike pedal is stuck! How do I get it off?
A: Don’t worry, a stuck pedal is a common issue. Here’s a breakdown:
- Identify the culprit: Left pedals have reverse threads, so loosen them by turning clockwise. Right, pedals loosen counterclockwise like normal.
- Gather your tools: You’ll need a pedal wrench or hex key (depending on pedal type), penetrating fluid, and a rag. For very stubborn pedals, a strap wrench or vise (advanced) might be helpful.
- Loosen it up: Apply penetrating fluid and let it sit. Use the wrench/hex key with firm, steady pressure in the correct direction (clockwise for the left pedal, counter-clockwise for the right). Short bursts of force can sometimes be more effective.
- Increase leverage (optional): If the pedal remains stuck, a strap wrench (for pedals with a suitable surface) or a vise (used with caution by experienced users) can provide extra grip.
- Seek help if needed: If all else fails, don’t force it! Take your bike to a mechanic to avoid damaging the threads or crank arm.
Q: How can I prevent pedals from getting stuck in the future?
A: Here are some preventative tips:
- Proper torque: Tighten pedals to the manufacturer’s specifications using a torque wrench. Avoid overtightening.
- Regular maintenance: Occasionally check pedal tightness and apply a light coat of grease to the threads before reinstalling.
- Keep it clean: Regularly clean the pedal threads and crank arm, especially after rides in wet or muddy conditions, to prevent dirt and corrosion buildup.
Bonus Tip: When reinstalling pedals, always tighten them in the correct direction (counter-clockwise for right pedal, clockwise for left pedal).

Steve J. Robin is the Senior Mountain Bike Review Editor at Outdoorxsports. Steve has lived in Heron Way, Milwaukie for 15 years. Steve earned his Bachelor’s degree at the University of Wisconsin Milwaukee, which has extensive biking training facilities, he had taken up biking seriously as a teenager and later became obsessed with mountain biking. He is an obsessive mountain bike racer and rubbed shoulders with the bike and that he rides with, riding is so much more than a hobby for him with a mild addiction to Endomondo. On September 21, 2015, he released a five-and-a-half-minute mountain biking’s video on YouTube that was to change his biking life. The video got a few thousands of views overnight as of today– the world went crazy for Steve. Since the video went viral, things changed fast; Steve found himself featured in MTB-MAG, joined a production as a stunt man.