
Mountain biking is an exhilarating way to experience nature and challenge yourself physically. However, keeping your bike in top condition is essential for optimal performance and longevity. One of the most critical maintenance tasks is cleaning your mountain bike chain. A clean chain ensures smooth shifting, reduces wear and tear, and extends the lifespan of your drivetrain. This comprehensive guide will walk you through the step-by-step process of cleaning your mountain bike chain, providing valuable tips and insights.
Why Cleaning Your Mountain Bike Chain is Crucial
Before diving into the cleaning process, let’s understand why keeping your mountain bike chain clean is so important.
- Improved Shifting Performance: A dirty chain accumulates grime, dirt, and grit, which interferes with the smooth movement of the chain across the cassette and chainrings. This can lead to sluggish shifting, chain skipping, and even chain suck, where the chain gets stuck between the chainring and the frame. Regular cleaning helps maintain optimal shifting performance, ensuring a seamless and enjoyable ride.
- Reduced Wear and Tear: The abrasive nature of dirt and grit can accelerate wear and tear on your chain, cassette, and chainrings. By cleaning your chain regularly, you remove these harmful contaminants, reducing friction and extending the lifespan of your drivetrain components. This saves you money in the long run by delaying the need for replacements.
- Enhanced Efficiency: A clean chain allows for smoother power transfer from the pedals to the rear wheel. This translates to improved efficiency, meaning you can ride faster and farther with less effort. Cleaning your chain is a simple yet effective way to optimize your bike’s performance.
Tools and Materials You’ll Need
Gather the following tools and materials before you start cleaning your mountain bike chain:
- Chain cleaning tool: A dedicated chain cleaning tool makes the process much easier and more efficient. It typically consists of a reservoir filled with a degreaser and rotating brushes that scrub the chain as you pedal backward.
- Degreaser: Choose a biodegradable degreaser specifically formulated for bike chains. Avoid harsh solvents that can damage the chain and other components.
- Brushes: A stiff-bristled brush is useful for scrubbing stubborn grime from the cassette, chainrings, and derailleur pulleys. A toothbrush or a detail brush can reach tight spaces.
- Rags or paper towels: Keep plenty of rags or paper towels on hand to wipe off excess degreaser and dry the chain.
- Gloves: Protect your hands from degreasers and grime by wearing gloves.
- Chain lubricant: After cleaning, you’ll need to re-lubricate the chain. Choose a lubricant suitable for your riding conditions (wet or dry).
Read more Bike Chain Hacks: How to Change Your Mountain Bike Chain
Step-by-Step Cleaning Process
Now that you have everything you need, let’s get started with the cleaning process.
- Prepare Your Bike: Shift your bike into the smallest cog on the cassette and the smallest chainring. This will give you easier access to the chain and drivetrain components. If possible, remove the rear wheel to make cleaning even easier.
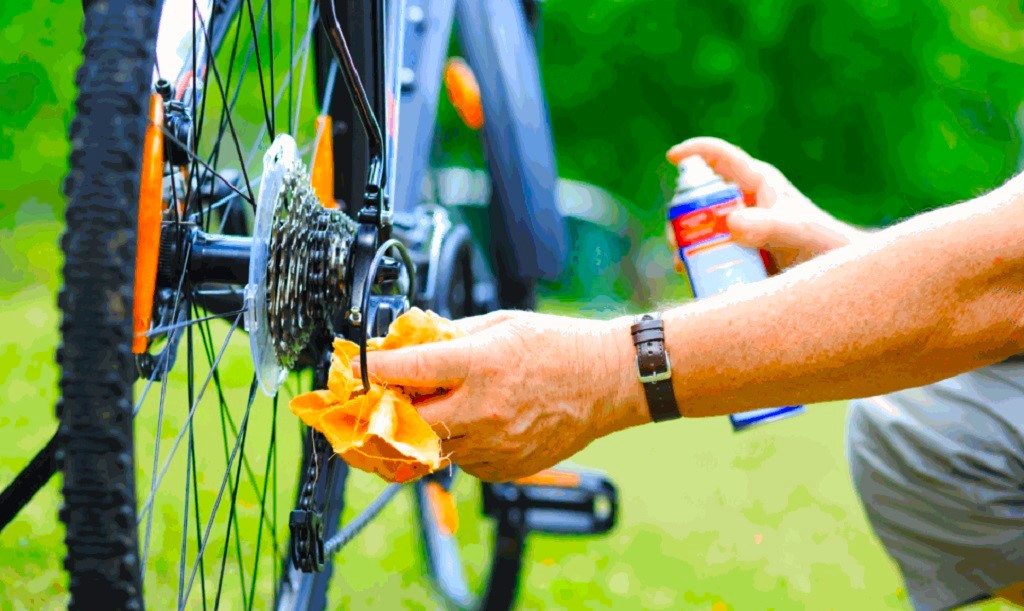
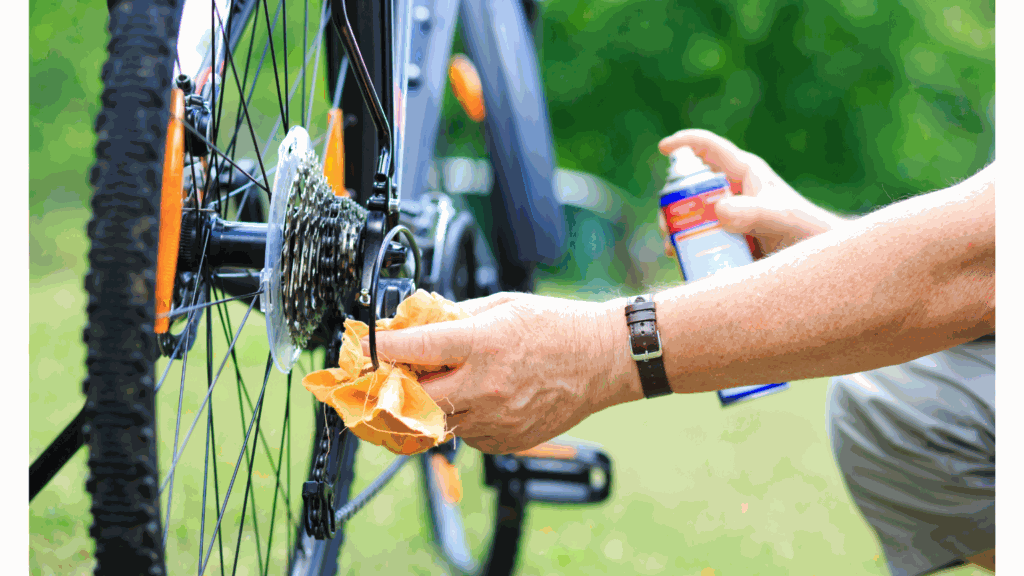
- Apply Degreaser: Fill the chain cleaning tool with degreaser according to the manufacturer’s instructions. Attach the tool to the chain, ensuring the brushes engage with the chain links.
- Scrub the Chain: Pedal backward slowly, allowing the brushes to scrub the chain thoroughly. The degreaser will loosen and dissolve the grime and dirt. Continue pedaling until the chain is clean.
- Clean the Cassette and Chainrings: Use the stiff-bristled brush and degreaser to scrub the cassette cogs, chainrings, and derailleur pulleys. Pay attention to the hard-to-reach areas where grime tends to accumulate.
- Rinse and Dry: Rinse the chain, cassette, and chainrings with water to remove any remaining degreaser and dirt. Wipe off excess water with rags or paper towels. Allow the chain to dry completely before applying lubricant.
- Lubricate the Chain: Apply lubricant to the chain, focusing on the inner rollers. Avoid over-lubricating, as excess lubricant can attract dirt. Wipe off any excess lubricant with a rag.

Pro Tips for Mountain Bike Chain Guide Installation
Additional Tips for Cleaning Your Mountain Bike Chain
- Clean Your Chain Regularly: The frequency of cleaning depends on your riding conditions and frequency. Aim to clean your chain at least once a month, or more often if you ride in muddy or wet conditions.
- Avoid Harsh Chemicals: Stick to biodegradable degreasers specifically designed for bike chains. Harsh solvents can damage the chain and other components.
- Don’t Use High-Pressure Water: Avoid using high-pressure water to clean your chain, as it can force water into the bearings and cause damage.
- Inspect Your Chain for Wear: While cleaning your chain, take the opportunity to inspect it for wear. Look for signs of stretching, stiff links, or rust. If you notice any significant wear, it’s time to replace your chain.
Conclusion
Cleaning your mountain bike chain is a simple yet essential maintenance task that can significantly impact your bike’s performance and longevity. By following the step-by-step process outlined in this guide, you can keep your chain clean and running smoothly, ensuring a more enjoyable and efficient ride. Remember to clean your chain regularly, use the right tools and materials, and avoid harsh chemicals. With a little care and attention, your mountain bike will reward you with many miles of exhilarating adventures.

Taylor is an outdoors & sports equipment specialist, sports author, bike traveler, bicycling and skating expert, and smoke-free ride activist. He is also a regular reviewer of outdoor sports gadgets and accessories. About safety gear and biking facts he analyzes and gives his feedback to outdoorxsports. Writes and tests to help him, you, and us.