

A mountain bike chain guide keeps your chain from falling off while riding. This is important to keep your speed and protect your bike from damage.
- To install your new chain guide, gather your tools. You will need a chain tool, Allen keys, and a new master link.
- Follow the steps for your chain guide model carefully. Make sure it fits your mountain bike frame.
- Regularly maintain your chain guide by cleaning and adding lubrication. This can help prevent wear and keep it performing well.
- This guide offers helpful tips and fixes for common problems. Issues like chain drop and tension adjustments can be managed to improve your mountain biking experience.
Introduction
When you want to make your mountain bike better, you may need to upgrade or add important parts. A key part is the chain guide. It helps keep your riding smooth and steady, especially on tough trails. This is important because it needs to align well with the back wheel. This easy guide will help you understand how to install a mountain bike chain guide. You will learn what you need to know and the skills to do it right.
Understanding Mountain Bike Chain Guides
For passionate mountain bikers, chain guides are essential parts. They keep your chain firmly on the drivetrain. This is important, especially during tough rides. Chain guides add safety and trust. This way, you can enjoy the excitement of the trail without stressing about your chain coming off.
Chain guides are tools for mountain biking. They help keep the chain in place while you ride. This way, you can enjoy a smoother and safer biking experience. Let’s read more to learn how they help.
The role of chain guides in mountain biking
Chain guides, as the name tells us, are mainly used for keeping the bicycle chain in place. In mountain biking, trails can have many bumps and obstacles. Because of this, chains can easily come loose or fall off. This can be very annoying, stopping your ride suddenly and possibly harming your bike.
Chain guides help reduce the risk of your chain moving out of place while riding. They keep the chain secure, even during rough rides. This works by using guides, usually one near the crankset and another near the rear cassette. These guides stop the chain from swaying or bouncing off the chainrings. A tape measure can also help check if the chain length is right.
Chain guides help keep your chain in place. This makes your ride smoother, more efficient, and more fun. They also reduce wear and tear on your drivetrain. By lessening chain slap and cutting down on friction, they help your components last longer.
Types of chain guides for different mountain bikes
Choosing the right chain guide model depends on what mountain bike you have and how you want to use it. There are several types to choose from. Each type has its pros and cons, including chain pins that can help with performance. Some popular options are single-guide systems, dual-guide systems, and full-guide systems. They offer different levels of chain retention.
Before you buy a chain guide, you should check your mountain bike’s compatibility document. You can also ask your local bike shop for help. They can help you find a chain guide that fits well with your bike model and crankset.
If you ride a full-suspension enduro bike, you may need a stronger chain guide. This is different from someone riding a hardtail cross-country bike. Choosing the right type of chain guide for your mountain bike is important. It helps with better performance and keeps the chain secure.
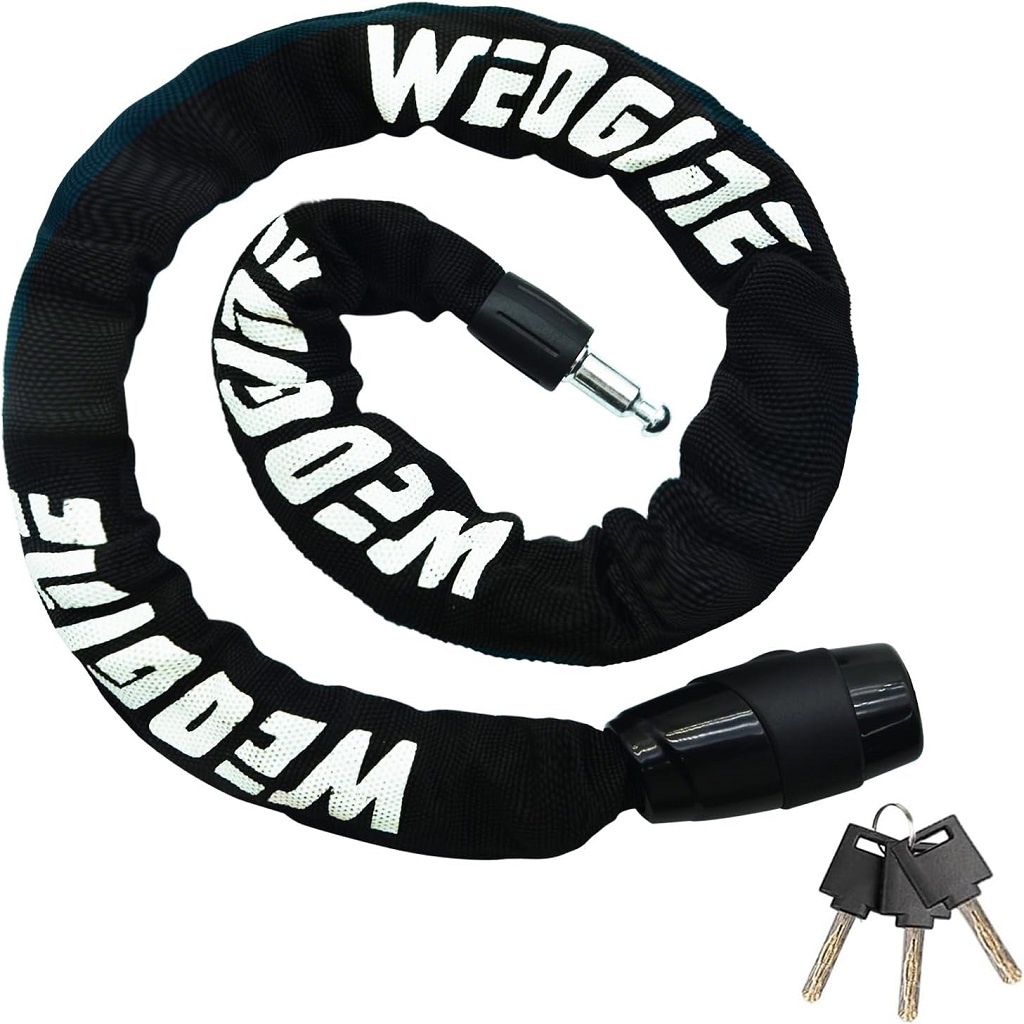
Read More: Bike Chain Lock, Heavy Duty Anti-Theft Bicycle Chain Lock, 2.72 Ft Security Bike Locks with 3 Keys
Preparing for Chain Guide Installation
To set up a chain guide on your mountain bike, you need to prepare very carefully. First, gather all the tools and materials you will need. Also, make sure your bike is compatible before you start the installation.
This preparation makes installation easier and stress-free. It also helps prevent surprises or problems later on.
Tools and materials needed for installation
- Gather the following tools and materials before starting the installation:
- Allen Keys: Most chain guides use Allen bolts to attach. Keep a set of metric Allen keys nearby to help you loosen and tighten them.
- Chain Tool: You might need to make your chain shorter for the chain guide. A chain tool is important for taking off and putting back on chain links.
- Master Link Pliers (Optional): These pliers help you with installing and removing master links easily.
- Degreaser and Rag: Cleaning the spot where you will place the chain guide helps it fit better.
- Torque Wrench (Optional but Recommended): Tightening bolts too much can harm your frame, while not tightening enough can cause them to come loose. A torque wrench helps you apply the right amount of force.
Having these tools and materials ready will help make the installation easier and quicker.
Assessing your mountain bike’s compatibility
It’s important to make sure your mountain bike works with the chain guide. Start by looking at your bike’s frame for places to mount it. Most new mountain bike frames have special points for chain guides. These are usually found near the bottom bracket or along the chain stay.
Compatibility problems can happen if the chain guide gets in the way of the frame design. It can also affect the suspension linkage or the size of the chainring.
If you have questions about compatibility, talk to your local bike shop. They or the chain guide manufacturer can help you understand. Putting a chain guide on the wrong bike can cause performance problems. It might even hurt your bike’s frame.
Step-by-Step Chain Guide Installation Process
Once you check that everything works well together and have all the tools you need, you can start with the installation process using the step-by-step guide. Make sure to read and follow the instructions closely for the best results.
Remember to check the chain guide’s alignment and tension after a few rides. This will help make sure it works well.
Removing the existing chain guide (if applicable)
To start the removal, first, find the bolts that hold the front derailleur chain guide. Use the right tools like Allen keys or screwdrivers to carefully loosen and take off these bolts. After you remove them, gently slide the existing chain guide of the frame or derailleur cage. Keep in mind any special setups or parts that might be different depending on the chain guide model. Clean the area well to get ready for putting in the new chain guide.

Read More: Bike Chain Slipping When Pedaling Hard – How To Fix – Easy Solution
Positioning the new chain guide
Now it is time to put on the new chain guide. Start by placing it on your bike frame. Make sure the mounting holes line up with the ones on your bike. If your chain guide has a backplate, check that it is in line with your chainring and allows enough space. The aim is for the guide to sit in the middle of the chainring without touching it or stopping it from moving.
Next, put the bolts through the mounting holes and tighten them loosely. Make sure the chain guide can still move a little for future adjustments. If you are using a dual-guide system, do the same thing to place the rear guide close to the cassette.
Once you are happy with how it is positioned, tighten the bolts a bit more. Do not fully tighten them yet. You will need to make more changes after you put in the chain.
Attaching the chain guide to the frame
With the chain guide not tightened, place your chain through the guide’s channel. Make sure it fits well with both the front and rear guides if there are any. A chain that is installed correctly should move easily through the guide. It should not feel stuck or tangled. It is also important to have a tight link along the whole chain. If there are problems, check the guide’s position carefully and make any needed changes.
You can attach your frame and chain guide in different places, depending on how they are designed. You might use braze-on mounts close to the bottom bracket, clamps around the seat tube, or ISCG tabs. Check the instructions from the manufacturer for details about your specific model.
Next, put your cranks and pedals back on. Make sure they turn smoothly and do not touch anything. Also, make sure to tighten all bolts according to what the manufacturer says.
Read More: How to Clean A Bike Chain
Adjusting the chain guide for optimal performance
Adjusting your chain guide correctly is important for it to work well. First, make sure the chain tension is right. If the chain is too loose, it could come off. If it is too tight, it could cause too much friction and wear down quickly.
Next, move the guide to get the best chain alignment. Make sure the chain runs smoothly through the guide. It should not rub too much or make noise. Check for any signs of the chain touching the guide when it should not. If you see this, make small adjustments as needed.
If you continue to have chain drop or shifting problems after installation, check the guide’s position and tightness again. Small changes can help you get better performance. A properly adjusted chain guide stops annoying issues and makes your bike work better overall.
Tips for Maintaining Your Chain Guide
Maintaining your chain guide is just as important as installing it correctly. A properly cared-for guide means a smoother and more efficient ride. It also helps to make your drivetrain parts last longer.
Regular maintenance means keeping the chain guide clean and well-oiled. You should also check it for any signs of damage. This helps to make sure it lasts a long time.
Regular cleaning and lubrication
Dirt, grime, and old chain lubricant can stop your chain guide from working well. That’s why it’s important to clean it regularly. Use a degreaser and a brush to clean off all the buildup. Make sure the guide is dry before you add any lubricant.
Regularly adding lubricant is important to keep your chain guide working well and quietly. Use a good chain lubricant on the moving parts of the guide, like the rollers or glide plates.
Also, check all the mounting bolts to make sure they are tight. Look for any damage or signs of wear. If you find worn-out parts, replace them quickly. This will help avoid more problems and keep the guide working well.
Checking for wear and tear
- Check your chain guide often for any wear and tear.
- Focus on the guide plates or rollers, as these parts feel the most friction.
- Look for deep grooves, cracks, or too much movement.
If you see any of these signs, it is a good idea to change the worn chain guide or its parts. Not paying attention to wear and tear can lead to slower performance, more chain noise, and even chain derailment.
A little maintenance can help your chain guide last longer and work better. This can save you from problems on the trail.
Troubleshooting Common Chain Guide Issues
Chain guides help stop chain problems, but sometimes issues can still happen. If you spot these problems early and follow the right steps to fix them, you can avoid more damage and keep riding smoothly.
Let’s talk about some common problems with chain guides and how we can fix them.
Dealing with chain drop
Chain drop happens when the chain comes off either the chainring or the cassette. This can be annoying. When it occurs, check your drivetrain for clear problems. Look for too much chain slack, worn chainrings, or a bent rear derailleur hanger.
First, make sure the chain guide is properly positioned. It should not be too close or too far from the chainring. If it’s not in the right place, the links of your chain can get stuck or come off. Check that the guide allows for enough chain wrap. This helps keep the chain in place, especially when you go over rough terrain.
If the chain keeps dropping, it may be because the chain is too worn out. It could also be due to a chainring and chain guide that do not fit well together. If you have been using the same chain for some time, think about replacing it. If you just changed your chainring or chain guide, check that their teeth count and chain line match.
Adjusting chain guide tension
Incorrect tension in the chain guide can cause problems. It can make your drivetrain less effective and wear parts out too soon. If the tension is too high, it can put stress on the drivetrain. This can lead to quicker wear on the chain, cassette, and chainrings. If the tension is too low, the chain might drop, especially on rough rides.
To check the chain guide tension, move to the smallest cog on your cassette. Look at the space between the chain and the upper pulley wheel of the guide. There should be a little slack, about 5-10mm, to let the chain move naturally.
To change the tension, find the screws on your chain guide. Usually, there are screws for changing the height of the upper guide and its front-and-back position. By gently adjusting these screws, you can get the chain’s tension just right and make sure it moves smoothly through the guide.
Conclusion
In conclusion, installing a mountain bike chain guide can improve your biking experience. It helps keep the chain in place and makes your ride better. To keep it working well, make sure to clean it, add lubrication, and check for any wear and tear regularly. Knowing how to install it and fix common problems like chain drop and adjusting tension can help you have a smoother ride on any terrain. Also, picking the right chain guide for your mountain bike and riding style is important to get the most benefits. Happy biking!
Frequently Asked Questions
How do I choose the right chain guide for my mountain bike?
Choosing the right chain guide is important. You need to think about your mountain bike’s frame, how you ride, and what type of drivetrain you have. A good place to start is by talking to your local bike shop. You can also check your bike’s documents to find out what chain guide fits best for your bike. This will make sure it fits well and works properly with your bottom bracket and chainring size.
Can I install a chain guide on any mountain bike?
No, you can’t put a chain guide on every mountain bike. Whether it fits or not depends on your bike frame. It needs to have special mounting points, usually found near the bottom bracket or along the seat tube. Before you install one, check your bike frame for these mounts. It’s also a good idea to look at your bike manufacturer’s guidelines.
How often should I replace my chain guide?
The time to replace a chain guide can vary. It mostly depends on how you ride, the type of terrain, and how well you maintain it. A good rule is to replace the guide if you see a lot of wear on the guide plates. Also, check if there is too much play in the rollers or if the guide is damaged. Doing this helps avoid bigger problems with your chain or drivetrain.
What are the signs of a failing chain guide?
Signs that a chain guide is failing include loud chain noise, the chain dropping often even when it is installed and tightened correctly, visible damage on the guide plates or rollers, and problems with shifting. If you notice these issues, it’s important to replace the chain guide to avoid more problems with your drivetrain or to prevent breakdowns during rides.
Are there any DIY solutions for common chain guide problems?
Yes, you can fix many common chain guide problems by doing some simple DIY maintenance. This means adjusting the chain tension, cleaning and lubing the guide, checking if everything is lined up correctly, and tightening any loose bolts with the right tools.
Benefits of Using a Chain Guide
Investing in a chain guide has many benefits for mountain bikers. It can help improve your riding experience and protect your drivetrain. One main benefit is better chain retention. A chain guide helps to prevent dropped chains. This is especially useful on tough rides that include rough terrain, jumps, or tricky parts.
A chain guide does more than just keep the chain in place. It helps make your ride smoother and quieter. It lowers chain slap and reduces friction. This means the power from your pedals goes to the rear wheel more efficiently. In the end, this improves your performance.
Here is a table that shows the benefits of adding a chain guide to your bike:
| Benefits | Description |
| Enhanced Chain Retention | Significantly reduces instances of chain drop, even in rough terrain, allowing for uninterrupted rides. |
| Smoother and Quieter Ride | Reduces chain slap and friction, resulting in a less noisy and more enjoyable riding experience. |
| Improved Pedaling Efficiency | Minimizes power loss due to chain movement, leading to a more efficient transfer of energy. |
| Reduced Wear and Tear | Protects your drivetrain components, such as the chain, cassette, and chainrings from premature wear caused by chain drop and friction. |
Improved chain retention during rough rides
- Keep your chain secure during tough rides by following these tips:
- Pick a good chain guide.
- Set the right tension.
- Clean and maintain it often.
- These steps will improve your biking experience.
- They will also help keep your chain in great shape.
Enhancing the overall performance of your mountain bike
Want to improve how your mountain bike performs? Begin by taking off the chain guide if you have one. This important step can enhance your riding experience.

Taylor is an outdoors & sports equipment specialist, sports author, bike traveler, bicycling and skating expert, and smoke-free ride activist. He is also a regular reviewer of outdoor sports gadgets and accessories. About safety gear and biking facts he analyzes and gives his feedback to outdoorxsports. Writes and tests to help him, you, and us.