
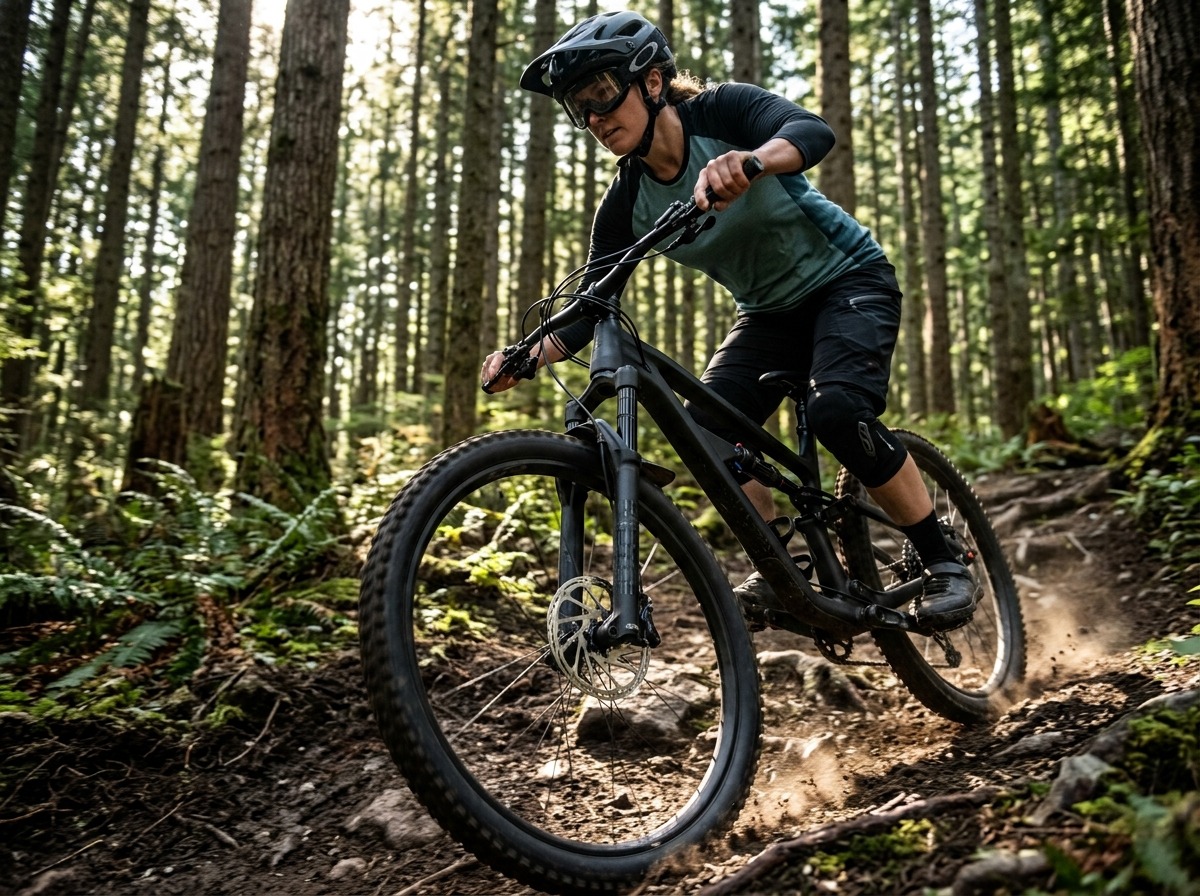
Women’s mountain biking combines adventure, fitness, and confidence on the trail. This ultimate guide covers everything you need—from choosing the right mountain bike and apparel to selecting tires and fine-tuning brakes—so you can ride safer, smoother, and more comfortably.
Key Takeaways
- Tailored Geometry Matters: The best women’s mountain bikes emphasize lower standover heights, proportional reach, tuned suspension leverage curves for lighter base weights, and narrower handlebars with female-specific saddles.
- Functional Apparel Over Aesthetics: Quality women’s MTB clothing relies on anatomical multi-density chamois, moisture-wicking synthetic/merino blends, and 4-way stretch abrasion-resistant outer layers.
- Tire Setup Dictates Control: Budget-friendly rubber like WEIZE mountain bike tires provides solid everyday trail grip; optimizing casing pressure (PSI) and tread compound matching maximizes traction and puncture resistance.
- Braking Power Is Non-Negotiable: Upgrading to and properly tuning hydraulic systems like VEVOR mountain bike disc brakes transforms downhill modulation, reduces arm pump, and shortens stopping distances.
- Proactive Maintenance Saves Money: Regular hydraulic brake bleeding, caliper centering, and pad bedding eliminate brake rub, spongy levers, and premature component wear.
Engineering the Ride: Anatomy of the Best Women’s Mountain Bikes
Modern mountain biking has moved far beyond the outdated “shrink it and pink it” philosophy. Leading manufacturers now apply anatomical data, mass distribution physics, and custom suspension tunes to create high-performance trail platforms designed around female physiology.
Frame Geometry, Reach, and Standover Clearance
Women typically feature a different torso-to-leg length ratio and a lower center of gravity compared to men of identical height. Premium women’s-specific brands like Liv Cycling and Juliana Bicycles design frames from the ground up, optimizing key measurements:
- Lower Top-Tube Slope (Standover Height): Maximizes clearance to allow easy dismounts on steep or uneven trail sections.
- Proportional Reach: Shortens the cockpit distance slightly to eliminate excessive lower-back strain without compromising front-wheel weighting.
- Steep Seat Tube Angles (76-78 degrees): Positions the pelvis directly over the bottom bracket for mechanical climbing efficiency.
- Slack Head Tube Angles (64-66 degrees): Provides high-speed stability through rock gardens and steep descents.
Suspension Tuning and Leverage Ratios
A critical technical differentiator on high-end women’s bikes is the rear shock and fork damper valving. Off-the-shelf unisex suspension is factory-tuned for an average male weight of 75–85 kg (165–187 lbs). Female riders, who typically average 55–68 kg (120–150 lbs), may experience harsh top-out or poor small-bump compliance. This often happens because factory compression and rebound shim stacks are too stiff for lighter riders.
Women’s-tuned shocks use lighter internal damper circuits to provide smoother suspension movement throughout the full travel. As a result, they help maintain better traction over washboard chatter, roots, and other rough terrain.
Performance Apparel: Women’s Mountain Bike Clothing Guide
High-performance trail riding requires apparel that balances climate regulation, movement freedom, and impact protection.
Anatomical Chamois & Liner Shorts
The interface between the pelvic sit bones (ischial tuberosities) and the saddle dictates ride duration and comfort:
- Pelvic Width Mapping: Female sit bones are anatomically wider; women’s chamois pads incorporate broader high-density foam or gel zones at the rear.
- Relief Channels: Central perineal relief channels relieve soft-tissue nerve pressure and eliminate hot spots.
- Drop-Tail & Quick-Relief Bibs: Advanced cycling bibs incorporate stretchable crisscross straps or rear zippers to make trailside nature breaks fast and hassle-free.
Outer Layers and Trail Shells
- Fabrics: High-denier Cordura® or ripstop nylon reinforced with 4-way elastane stretch panels resist trail rash, snagged branches, and rock abrasion.
- Moisture Management: Lightweight polyester-merino blends pull sweat from the torso, preventing post-climb chill on windy descents.
- Knee-Pad Compatibility: Technical riding pants and shorts feature tapered lower legs with articulation over the knee to accommodate D3O® or SAS-TEC armor without binding.
Component Focus: WEIZE Mountain Bike Tires Evaluation
Tires represent the sole point of contact between the bike and the ground. Upgrading or replacing worn rubber with options like WEIZE Mountain Bike Tires is one of the most cost-effective performance improvements a rider can make.
Tread Pattern and Terrain Matching
WEIZE tires feature an aggressive block-tread layout designed for versatile, all-terrain utility:
- Center Knobs: Tightly ramped center blocks lower rolling resistance on hardpack and asphalt transition roads.
- Shoulder Lugs: Tall, siped alternating outer shoulder knobs bite into loose loam and berm corners to prevent front-end washouts.
- Directional Siping: Tiny cuts in the rubber lugs flex under load, multiplying braking edges on wet roots and slickrock.
Casing Durability, TPI, and Pressure Optimization
- 60 TPI vs 120 TPI Construction: WEIZE utility casings utilize a sturdy 60 TPI (threads per inch) nylon carcass that emphasizes puncture resistance, sidewall support, and cut protection against pinch flats.
- Pressure Tuning: For a 60 kg rider, optimal starting pressures hover around 18–22 PSI (front) and 21–25 PSI (rear) when running modern wide-rim tubeless setups, or 24–28 PSI when using traditional inner tubes.
Stopping Power: VEVOR Mountain Bike Brakes Overview
Control in mountain biking is governed by stopping confidence. VEVOR Mountain Bike Brakes provide an accessible, high-value alternative for replacing entry-level mechanical calipers or aging systems on trail, commuter, and e-bike builds.
Mechanical vs. Hydraulic Disc Systems
- Cable-Actuated Mechanical: Dependable and easy to repair in remote locations, but limited in outright leverage and prone to cable stretch over time.
- Hydraulic Disc Systems: Utilize fluid pressure (typically mineral oil) to actuate dual or quad opposed pistons. They deliver exponential mechanical leverage and instant braking bite. They also provide featherlight, one-finger lever modulation. As a result, they dramatically reduce forearm fatigue (arm pump) on long descents.
Rotor Sizing Dynamics
- 160mm Rotors: Ideal for cross-country (XC), flatter terrain, and lighter riders where weight savings is prioritized.
- 180mm–203mm Rotors: Provide a larger thermal mass that disperses heat generated on extended descents, resisting brake fade and delivering up to 20–30% higher braking torque.
Workshop Masterclass: VEVOR Mountain Bike Brake Tuning & Maintenance
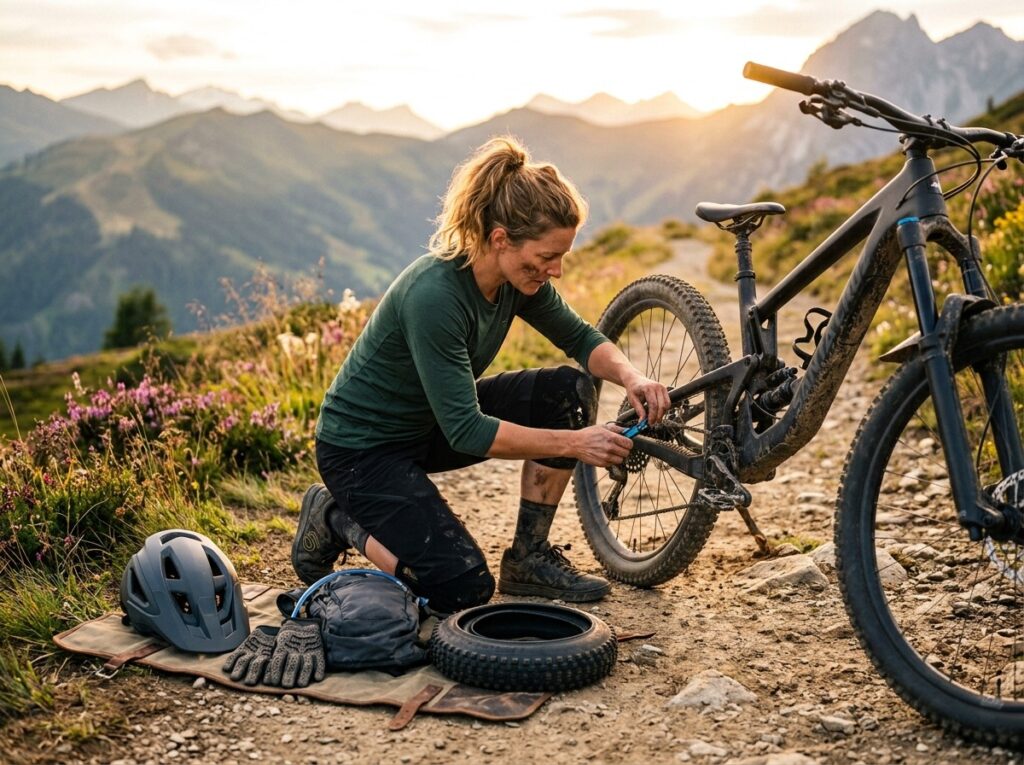
To unlock peak performance from VEVOR disc brakes, precise setup and systematic hydraulic maintenance are essential.
1. Caliper Alignment and Anti-Rub Centering
Brake rub robs momentum and creates annoying squeaks. Follow this centering routine:
- Loosen Caliper Bolts: Back out the two 5mm mounting bolts holding the caliper to the frame/fork adapter until the caliper wiggles freely.
- Squeeze and Hold: Firmly squeeze the corresponding brake lever 3 to 4 times, then clamp it tightly against the handlebar. This forces the internal pistons to center the caliper body over the rotor.
- Torque Alternately: While maintaining continuous lever pressure, snug the top and bottom mounting bolts alternately in small increments to 6–8 Nm.
- Sight the Rotor Gap: Spin the wheel and look down the caliper slot against a white background; ensure an even daylight gap on both sides of the rotor.
2. Bleeding the Hydraulic System
When levers feel squishy or pull all the way to the grip, air bubbles are trapped in the brake line.
- Safety First: Remove the wheel and brake pads to avoid oil contamination. Insert a plastic bleed block between the pistons.
- Top Lever Reservoir: Level the brake lever horizontally on the handlebar. Thread a bleed funnel with the recommended hydraulic fluid (check caliper markings: Mineral Oil vs DOT fluid) into the lever bleed port.
- Caliper Purge: Connect a fluid-filled syringe to the caliper bleed nipple via clear hose. Open the caliper bleed valve a quarter-turn.
- Flow the Fluid: Push clean oil up through the caliper to the lever funnel, watching for discolored fluid and floating air bubbles.
- Flick the Lever: Tap the hydraulic housing along the frame with a screwdriver handle while flicking the lever blade to release stubborn microscopic air pockets.
- Seal System: Close the bleed valve, remove the funnel, install the port screws, and clean the entire assembly thoroughly with isopropyl alcohol before reinstalling pads.
3. The Pad Bedding-In Process
Never hit technical trails with fresh, unbedded brake pads. Bedding deposits an even layer of pad material onto the rotor surface:
- Accelerate the bike to approximately 25 km/h (15 mph) on flat pavement.
- Firmly apply one brake to decelerate smoothly down to walking speed (do not lock up the wheel or come to a full stop).
- Release the brake and repeat this cycle 15–20 times per brake. You will feel the bite point sharpen and braking power double.
Frequently Asked Questions (FAQs)
Do women really need women’s-specific mountain bikes?
Not necessarily. Women-specific bikes from brands like Liv offer proportional geometries right out of the box. However, many female riders can comfortably ride unisex frames from brands such as Trek, Specialized, and Santa Cruz. You can improve the fit by swapping the saddle and narrowing the handlebars, typically trimming them from 800mm to around 740–760mm. Additionally, adjusting the suspension sag and rebound damping can further improve comfort, control, and overall riding performance.
Are WEIZE tires compatible with tubeless setups?
Standard wire-bead WEIZE tires are engineered primarily for inner tube applications. While some riders convert folding-bead versions with rim tape and liquid sealant, ensure your tire bead seats securely onto a tubeless-ready (TR) rim hook to prevent high-pressure burping on rough trails.
What type of brake fluid do VEVOR bicycle hydraulic brakes use?
Most VEVOR bicycle brake assemblies utilize mineral oil rather than automotive DOT fluid. Always inspect the reservoir cap markings or product manual before bleeding, as mixing DOT fluid with mineral oil seals will destroy internal rubber gaskets.
How often should mountain bike hydraulic brakes be bled?
Under normal riding conditions, bleed your hydraulic brakes once every 6 to 12 months, or immediately whenever the lever feels spongy, loses initial bite, or after trimming brake hoses during installation.
How do I adjust brake lever reach for smaller hands?
Look for a small 2mm or 2.5mm hex screw located inside the lever pivot mechanism. Turning this screw clockwise moves the lever blade closer to the handlebar grip, allowing riders with smaller hands or shorter finger reach to maintain a secure grip while braking.
For a visual demonstration of the caliper bleeding technique and bubble purge process discussed in our maintenance section, watch this hydraulic disc brake bleeding walkthrough.
This video provides clear, step-by-step mechanical guidance for resetting pistons and cycling fresh fluid through your brake lines to eliminate lever sponginess.
Welcome to outdoorxsports.com! I’m Russell, your guide to the awesome world of mountain biking. This blog is all about building a community of riders who love to share their passion for the sport. Expect inspiring stories, local trail recommendations, fun challenges, and tips for making the most of your time on two wheels.