Key Highlights
- Getting the correct tire pressure for your mountain bike can make your ride much better.
- Things like rider weight, riding style, and trail conditions are important in finding the right tire pressure.
- This guide shows you a clear view of tire pressure and its effects on your mountain biking adventures.
- You will discover how to check and adjust tire pressure for the best performance and safety on the trails.
- Learn to adjust your tire pressure easily so you can handle different terrains and conditions well.
Introduction
Starting with the right tire pressure for your mountain bike is important for a good ride. To find the right pressure, think about a few things. These include your weight, your riding style, and the types of terrains you ride on. This short guide will help you find the perfect tire pressure to improve your mountain biking experience.
Understanding Tire Pressure: The Foundation of Mountain Biking

Tire pressure is indicated in pounds per square inch, or PSI. It tells you how much air is in your mountain bike tires. Having the right tire pressure is very important. It makes your ride feel smooth and steady, rather than bumpy and shaky. The correct tire pressure can greatly improve your bike’s performance and safety on the trails.
It is key to find the right balance for your weight, riding style, trail conditions, and tire type. Try out different PSI settings to see how your bike responds. This will help you learn what your bike is really capable of.
Why Correct Tire Pressure is Crucial for Your Ride
Setting the right tire pressure is important for a safe and fun ride. It affects how well your bike holds the ground. When you use less pressure, you usually get better grip, mainly on loose surfaces like gravel or dirt. This allows the tire to fit better with the bumpy ground.
Second, tire pressure affects how comfortable you feel while driving. Higher pressure can make the ride feel bumpy. This is because it sends more shock from the road to your body. In rougher areas, lower pressure can soak up some of these shocks. This makes your ride feel smoother and better.
Using the right tire pressure can help prevent flats. Heavier riders might need higher pressure. This keeps the tire from being too low and getting pinched by the rim when they hit bumps. Lighter riders can use a bit lower pressure.
The Impact of Tire Pressure on Performance and Safety
Riding with the wrong tire pressure can be dangerous. If your tire pressure is too low, you might get pinch flats. A pinch flat occurs when the inner tube gets squeezed between the rim and something sharp on the road. This can create a hole in the tube.
Higher tire pressure can help lower the risk of pinch flats. However, it can also make the area that touches the ground smaller. This smaller contact area can mean less grip. Because of this, you might skid more, especially when turning or braking.
Keeping the right tire pressure is crucial for safety on the trails. It helps you control your bike better. This also reduces the chance of accidents. You can react quickly to surprises while riding.
Preparing to Check and Adjust Your Mountain Bike’s Tire Pressure
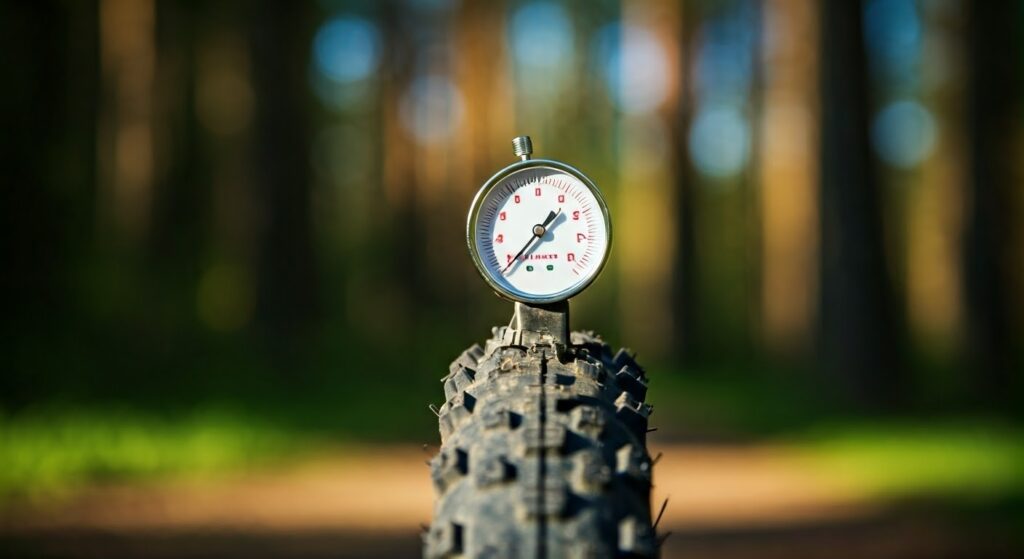
Before you go out to explore the trails, take a moment to check your tire pressure. This can make your ride feel better. Also, make sure you have the right tools. A tire pressure gauge and a pump are important so you are prepared.
Once you have your tools, check the right tire pressure for your mountain bike. Knowing these numbers helps you adjust properly.

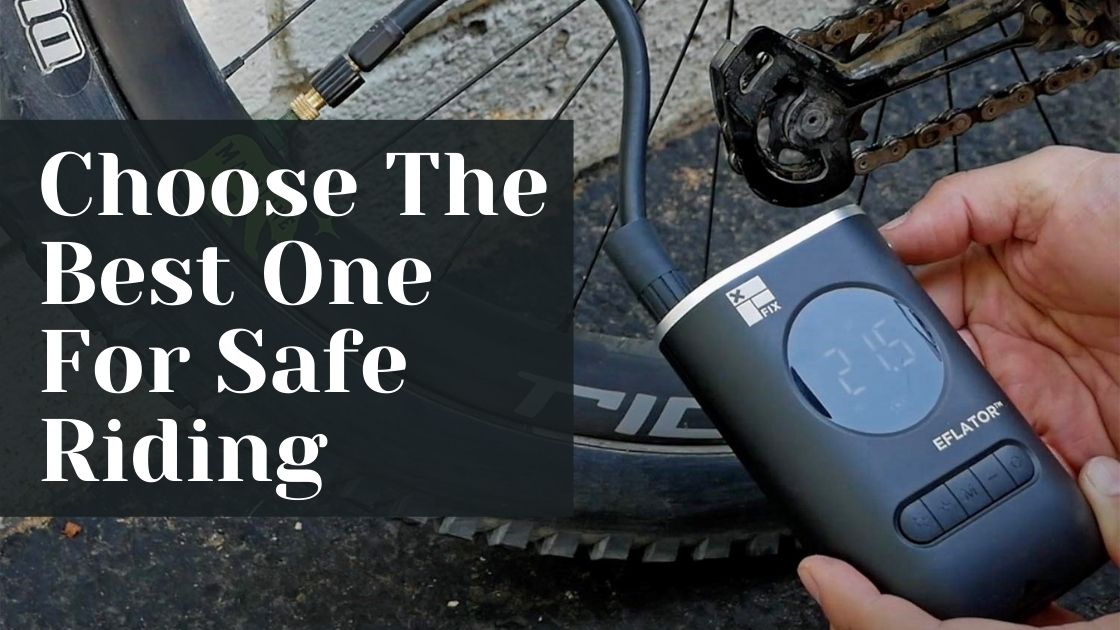
Find out The 5 Best Electric Bike Pumps of 2024
Essential Tools and Equipment Needed
Before we check the tire pressure, let’s get the tools we need.
- Digital Pressure Gauge: A good digital pressure gauge helps you get accurate readings. Many pumps have built-in gauges. A separate digital gauge, however, can give you more precise results.
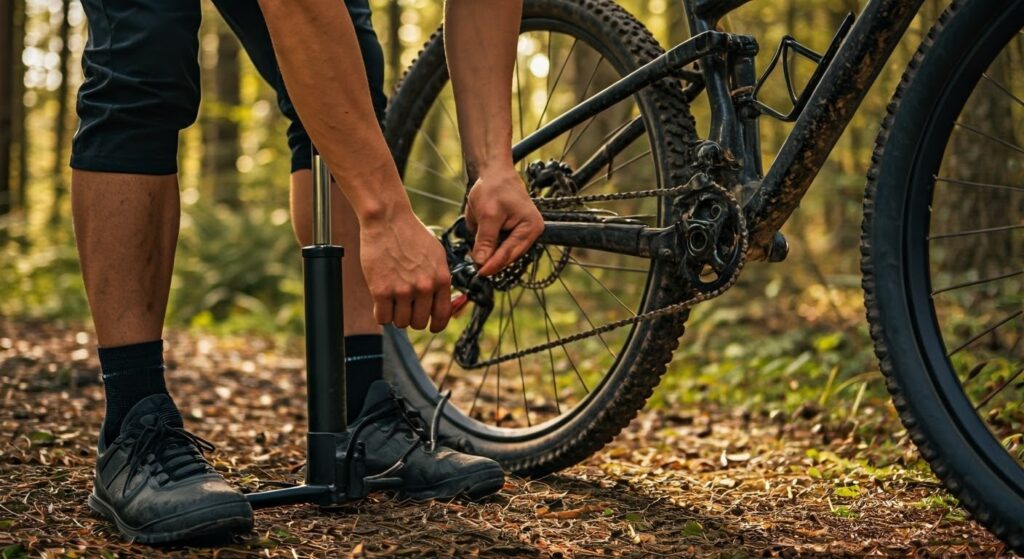
- Floor Pump with Gauge: You need a floor pump that works well with high-pressure tires, like those on mountain bikes. Pick one with a clear, easy-to-read gauge. This will make inflating your tires simpler.
- Tubeless Sealant (If Needed): If your bike has tubeless tires, check that you have enough tubeless sealant on hand. This sealant helps to quickly seal small holes and cuts to prevent punctures while riding.
Having these tools can help you check tire pressure. You can also adjust it properly. This will make your ride smoother. It will be safer, too.
Identifying Your Mountain Bike’s Tire Pressure Requirements
There is no one-size-fits-all number for tire pressure. A good starting point is to think about your weight as a rider. You should also think about the type of ground you will ride on. Look at the table below for some general guidelines:
| Rider Weight (lbs) | Trail Type | Front Tire Pressure (PSI) | Rear Tire Pressure (PSI) |
| 130-150 | Cross Country | 27-30 | 29-32 |
| 150-170 | Trail | 25-28 | 27-30 |
| 170+ | All-Mountain/Enduro | 23-26 | 25-28 |
These values are a starting point. Many things can change the ideal pressure for your setup. Factors like tire volume, riding style, and trail conditions can affect it.
A Beginner’s Guide to Checking Tire Pressure
Now it is time to check tire pressure. First, make sure your tires are cool. Riding can make the tire pressure rise because of the heat. After the tires cool down, you can check the air pressure.
Checking your bike’s tire pressure is easy. First, grab your digital gauge. Firmly press it against the valve stem. Wait until a steady reading shows up. Then, write down the pressure for both the front and rear tires. The numbers may differ because of your riding style and how you balance your weight.
Step 1: Using a Reliable Tire Pressure Gauge
A good digital gauge is useful for getting accurate air pressure readings. You can still use old-style analog gauges, but digital gauges usually provide better results.
To use a digital gauge, press it firmly on the tire’s valve stem. You will hear a quick hissing sound as air escapes. This sound shows that the gauge is creating a good seal to check the air pressure inside. A good seal is key for getting an accurate reading.
After you put the gauge on, wait a moment to see the reading. The digital screen will show the tire pressure in PSI. Compare this with the recommended pressure for your weight and riding style. If needed, change the pressure.
Step 2: Reading Your Tire’s Baseline Pressure
Before you make any changes, look at the air pressure in your tires. The first number tells you how much pressure is in your tires right now.
When you read your tire pressure, write it down in a notebook. You can also use a tire pressure tracking app if you like using technology. Keeping track of your tire pressure changes helps you see how it works. This also helps you find what suits your riding style and where you ride.
This baseline pressure is your starting point. You can test different settings to find a ride that feels great and works well.
Adjusting Tire Pressure Like a Pro

Adjusting tire pressure is very important for your mountain bike to perform well on trails. You may need to add air if you want to go faster. On the other hand, letting some air out can give you better grip. Learning how to change tire pressure helps you handle different kinds of terrain.
Adjusting tire pressure is not just a task to do once. You need to check it often. Make it a habit to change the tire pressure according to your riding style and the trail conditions.
Step 1: Increasing Pressure for Optimal Performance
If your tires feel flat, especially on smooth roads, adding more air could help. Higher air pressure often means less rolling resistance. This means you will need less energy to keep your speed.
To put air in your tires, first connect your pump to the valve stem. It should fit snugly to stop any air from leaking. Next, add air slowly. Check the gauge often, so you do not add too much air.
It’s important to change the pressure slowly over time. This keeps you at the right PSI. After you change it, go for a short ride. This lets you feel how your bike works.
Step 2: Fine-Tuning Pressure for Different Riding Conditions
Adjusting your tire pressure for different riding conditions can really boost your mountain biking fun. If you want to ride on rough surfaces or face tough obstacles, consider lowering the pressure. A lower pressure lets your tires grip the ground better. This makes it simpler to handle slippery hills and rocky paths.
If you want to ride faster on smooth trails, using a bit of higher pressure can help. This works well for getting speed on flat paths. But, it’s important to find a good balance. If the pressure is too high, the ride might feel rough.
Finding the right tire pressure depends on a few things. You should consider your bike, the type of ground you ride on, and your riding style. It is all about figuring out what works best for you.
Conclusion
Maintaining the right tire pressure is key for great mountain biking. It affects how well you ride and keeps you safe. When you keep the pressure correct, your trip is smoother and more enjoyable. You can check and adjust your mountain bike’s tire pressure by following this guide. Remember, you need good tools to set the right pressure for different riding situations. So, grab your tire pressure gauge, make the adjustments, and feel confident on the trails!
Frequently Asked Questions
What is the ideal tire pressure for mountain biking?
There is no single perfect answer for the best MTB tyre pressure. It can vary based on rider weight, riding style, and the type of ground you ride on. To find the right pressure for your MTB tyres, try different settings within the suggested ranges.
How often should I check my mountain bike’s tire pressure?
You need to check your tyre pressure. This depends on a few things. These include how you ride, the type of trail, and the width of your tyres. These factors can change how much air you lose. A good rule of thumb is to check your pressure at least once a week. If you ride a lot or notice big changes in pressure, check it more often.

Taylor is an outdoors & sports equipment specialist, sports author, bike traveler, bicycling and skating expert, and smoke-free ride activist. He is also a regular reviewer of outdoor sports gadgets and accessories. About safety gear and biking facts he analyzes and gives his feedback to outdoorxsports. Writes and tests to help him, you, and us.

