
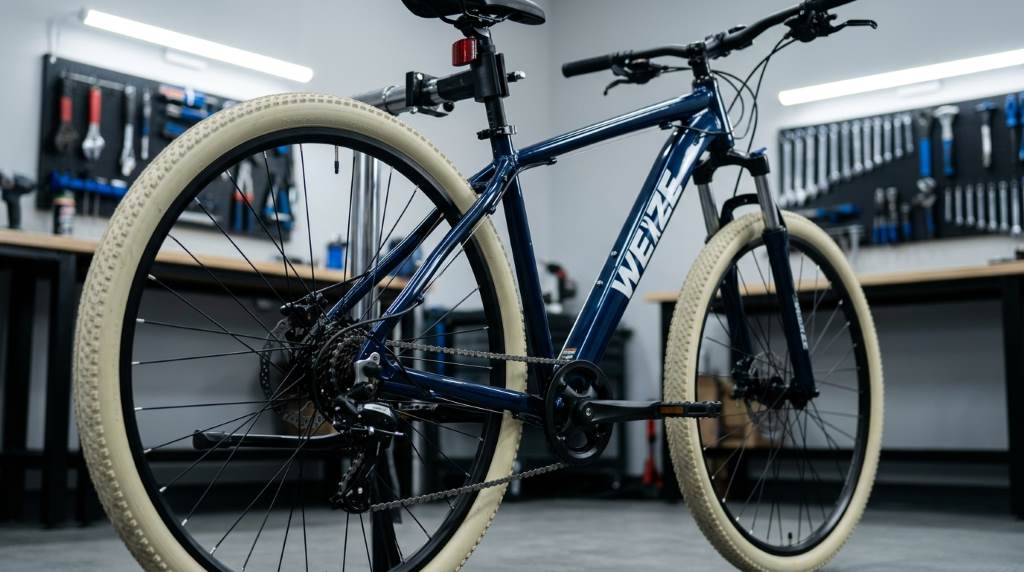
Upgrading the tires on your WEIZE Hardtail Mountain Bike 29 Inch can change your riding experience. Studies show that 70 percent of mountain bikers see better grip and control after switching to high quality tires. The 29 inch wheels on this bike are built for speed and stability. A tire upgrade can help you tackle tougher trails with confidence. It also extends the life of your bike.
Why Upgrade Your WEIZE Hardtail Mountain Bike Tires
Better tires improve traction on loose or wet surfaces. They also reduce rolling resistance for faster rides. Upgraded tires can handle sharp rocks and roots without puncturing. This means fewer flats and more time on the trail. Riders often notice a smoother and more comfortable experience.
Durability is another key benefit of upgrading. High quality tires last longer and resist wear. They also provide better cornering stability at high speeds. This is important for technical trails and downhill sections. Upgraded tires can also support heavier loads without losing performance.
Signs You Need New Tires for Your WEIZE Hardtail Mountain Bike
Visible cracks or dry rot on the sidewall mean it is time for a change. If the tread is worn down to the base, grip will be poor. Frequent flats or punctures also signal the need for new tires. A rough or vibrating ride may indicate uneven wear. Check for bulges or bubbles as these are safety hazards.
If your bike feels unstable on turns, the tires may be the issue. Reduced braking performance is another warning sign. Tires older than five years should be inspected regularly. Even if they look fine, rubber degrades over time. Upgrading early can prevent accidents and improve your ride.
Choosing the Right Tires for Your WEIZE Hardtail Mountain Bike 29 Inch
Understand Tire Types
Cross country tires are light and fast for smooth trails. Trail tires offer a balance of grip and durability. All mountain tires are tougher for rough and steep terrain. Downhill tires provide maximum grip and protection for extreme rides. Each type is designed for specific conditions and riding styles.
Consider the terrain you ride most often. Hardpack tires work well on dry and compact surfaces. Loose over hardpack tires are good for mixed conditions. Soft compound tires provide extra grip on wet or muddy trails. The right choice depends on your local trails and weather.
Tire Width and Pressure
Wider tires offer more stability and comfort on rough trails. Narrower tires are lighter and faster on smooth surfaces. The WEIZE Hardtail Mountain Bike 29 Inch typically supports widths from 2.0 to 2.4 inches. Check your frame and fork clearance before choosing.
Tire pressure affects performance and comfort. Lower pressure increases grip but raises the risk of pinch flats. Higher pressure reduces rolling resistance but can feel harsh. Use a pressure gauge to find the right balance. Start with the manufacturer’s recommended range and adjust as needed.
Tread Patterns and Compounds
Knobby treads provide better grip on loose or muddy surfaces. Slick or semi slick treads are faster on pavement or hardpack. The spacing and height of the knobs also matter. Wider spaced knobs shed mud better while closer knobs offer more stability.
Tire compounds affect grip and durability. Softer compounds provide better traction but wear out faster. Harder compounds last longer but may not grip as well. Some tires use dual compounds for a balance of both. Consider your riding style and terrain when choosing.
Unique Consideration: Tire Inserts for Puncture Protection
Tire inserts are a lesser known but highly effective upgrade. They fit inside the tire and provide extra protection against punctures. Inserts also allow you to run lower tire pressures without the risk of pinch flats. This can improve grip and comfort on rough trails.
Inserts are made from foam or other lightweight materials. They add minimal weight but offer significant benefits. Brands like CushCore and Vittoria Air Liner are popular choices. Installing inserts requires tubeless ready tires and rims. The process is straightforward but does require some additional tools.
Riders in areas with thorny plants or sharp rocks will benefit the most. Inserts can also help prevent burping, where air escapes from the tire under hard cornering. This is especially useful for aggressive riders. The cost is reasonable compared to the protection they provide.
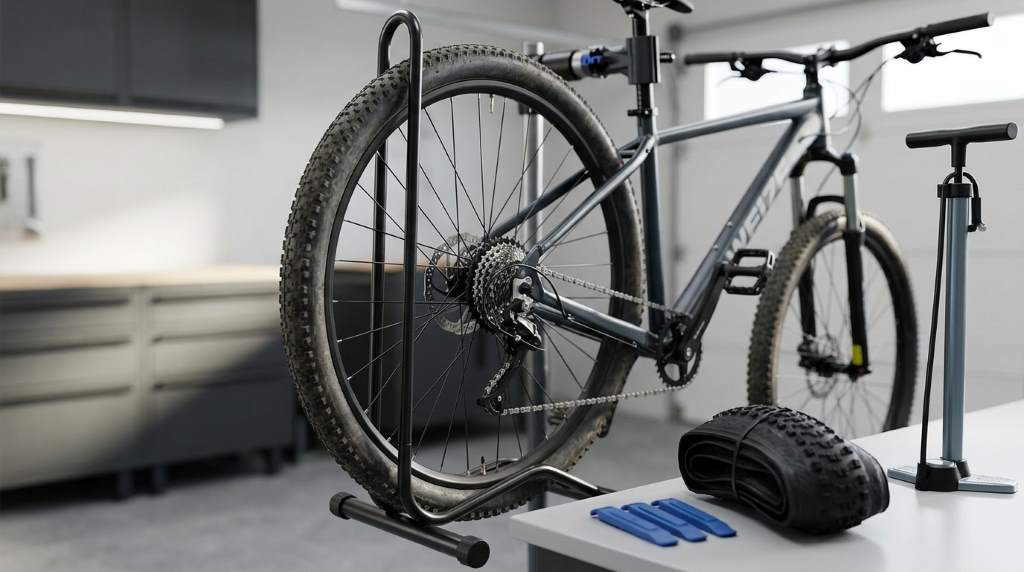
Step by Step Guide to Upgrading Your Tires
Tools and Materials Needed
Gather a new tire, tire levers, a pump, and a tube or tubeless setup. You will also need a wrench or quick release tool for the wheel. A work stand makes the process easier but is not required. Gloves can protect your hands from sharp edges.
If going tubeless, you will need rim tape, sealant, and a valve stem. A tubeless kit may include these items. A tire pressure gauge is useful for accurate inflation. A multitool can help with any unexpected adjustments.
Removing the Old Tire
Start by deflating the tire completely. Use the tire levers to pry the bead over the rim edge. Work your way around the wheel until one side is free. Pull the tube out if using a tubed setup. Inspect the rim tape and replace it if damaged.
Remove the other bead by repeating the process. Be careful not to pinch the tube or damage the rim. If the tire is stubborn, use two levers to create more leverage. Once both beads are off, slide the old tire away from the wheel.
Installing the New Tire
Begin by placing one bead of the new tire onto the rim. This can often be done by hand for the first part. Use tire levers only if necessary to avoid pinching the tube. Ensure the tire is seated evenly all around the rim.
Insert the tube if using a tubed setup. Tuck the tube inside the tire and inflate it slightly to hold its shape. For tubeless, apply rim tape and install the valve stem. Add sealant through the valve stem before seating the tire.
Work the second bead over the rim starting opposite the valve. This is the trickiest part and may require tire levers. Be patient and avoid using excessive force. Once both beads are on, inflate the tire to the recommended pressure.
Seating the Tire and Final Checks
Inflate the tire to the recommended pressure and check for even seating. The tire should sit uniformly against the rim. Spin the wheel to ensure there are no wobbles or bulges. Listen for any hissing sounds that indicate air leaks.
For tubeless setups, shake the wheel to distribute the sealant. Check for leaks around the valve and bead. Add more sealant if necessary. Let the tire sit for a few minutes to allow the sealant to work. Recheck the pressure and top up if needed.
Maintenance Tips for Your New Tires
Regularly check tire pressure before each ride. Use a gauge for accuracy as visual checks can be misleading. Clean your tires after muddy rides to prevent buildup. Inspect for cuts, embedded debris, or uneven wear.
Rotate your tires periodically to ensure even wear. This is especially important if you ride the same trails often. Store your bike in a cool, dry place away from direct sunlight. UV rays can degrade the rubber over time.
Reapply tubeless sealant every few months or as recommended. This keeps the sealant effective and prevents it from drying out. Check the sidewalls for cracks or dry rot. Replace tires that show signs of aging even if the tread looks good.
Common Mistakes to Avoid
Do not use excessive force when installing tires as this can damage the rim or tube. Avoid underinflating or overinflating your tires. Both can lead to poor performance and increased risk of damage. Always check the manufacturer’s recommendations.
Do not mix tubed and tubeless setups without proper conversion. Tubeless tires require compatible rims and tape. Avoid using old or damaged rim tape as this can cause leaks. Do not ignore small punctures as they can worsen over time.
Do not ride on tires with visible damage or excessive wear. This can lead to blowouts or loss of control. Avoid using incompatible tire widths for your frame and fork. Always double check clearance before purchasing new tires.
FAQ
What is the best tire width for a WEIZE Hardtail Mountain Bike 29 Inch?
Most riders find that 2.2 to 2.4 inches offers a good balance of grip and speed for this bike.
Can I switch from tubed to tubeless tires on my WEIZE Hardtail Mountain Bike?
Yes, if your rims are tubeless ready and you use the proper rim tape and sealant.
How often should I replace my mountain bike tires?
Replace them every 2,000 to 3,000 miles or if the tread is worn down or there are visible cracks.
Do wider tires slow me down?
Wider tires can feel slower on smooth surfaces but offer better grip and comfort on rough trails.
What tire pressure should I use for trail riding?
Start with 25 to 30 PSI for tubed tires and 20 to 25 PSI for tubeless, then adjust based on feel.
Conclusion
Upgrading the tires on your WEIZE Hardtail Mountain Bike 29 Inch is a simple yet impactful modification. It can improve your grip, comfort, and overall riding experience. Choose tires that match your riding style and local terrain. Follow the steps carefully to ensure a smooth installation. Regular maintenance will keep your new tires in top condition for years to come.
Do not wait until your current tires are completely worn out. Plan your upgrade and enjoy the benefits of a better ride. Share your experiences and tips with fellow riders. Happy trails!

Welcome to outdoorxsports.com! I’m Russell, your guide to the awesome world of mountain biking. This blog is all about building a community of riders who love to share their passion for the sport. Expect inspiring stories, local trail recommendations, fun challenges, and tips for making the most of your time on two wheels.